In this article, we will discuss "How to Setup AWS Pinpoint SMS Two Way Communication?". As previously, I already explained the Pinpoint project setup. So I recommend going through the previous article for a better understanding.
Enable Two-Way Communication
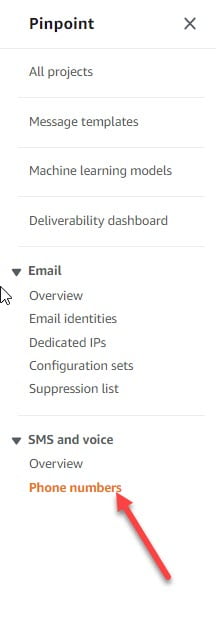
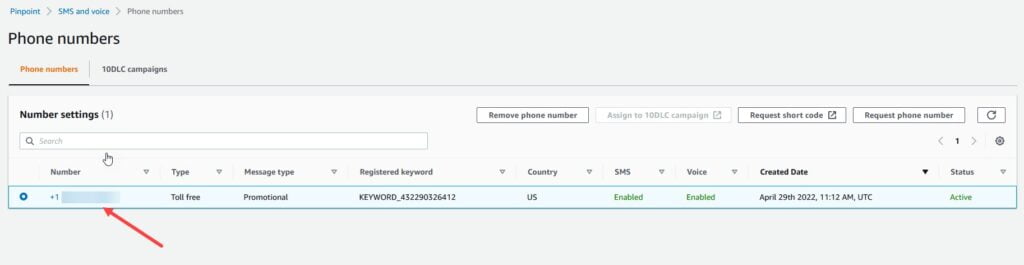
You have to enable two-way communication for each of the numbers separately. I explained in my previous article about requesting a Long Code, Toll-Free, or 10DLC numbers. So go to the "Pinpoint -> SMS and voice -> Phone numbers" screen.
Click on the specific number.
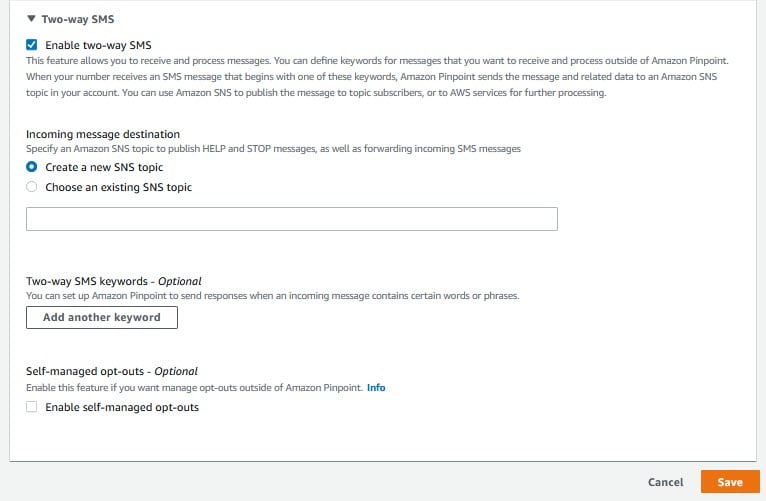
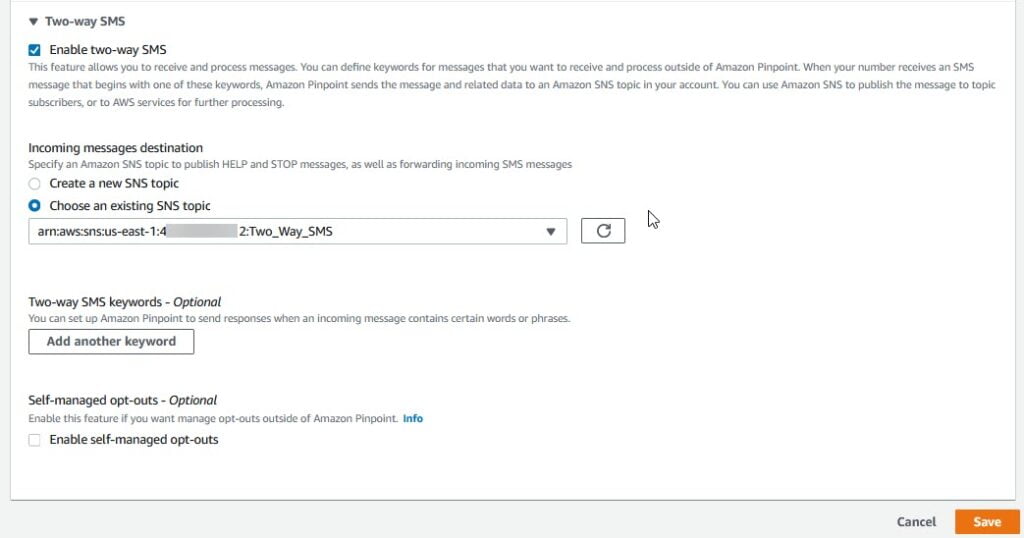
Scroll down and enable the two-way SMS.

After enabling the two-way SMS, you have to add the SNS topic where the user replies received.
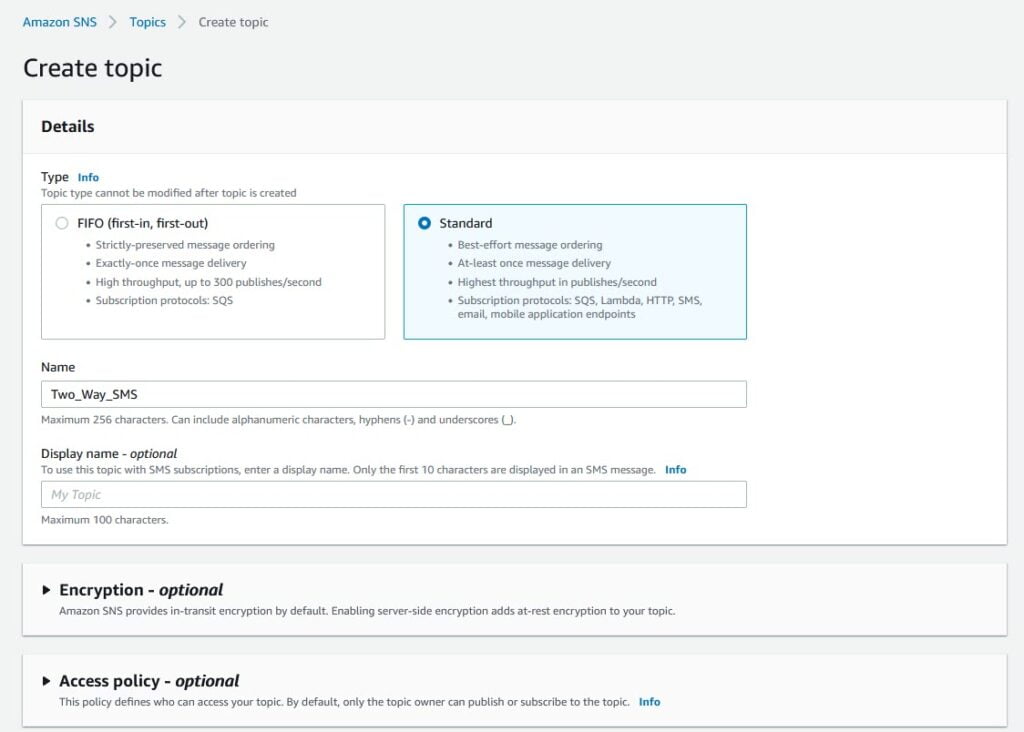
Create SNS Topic
Go to AWS SNS (Simple Notification Service) Console.
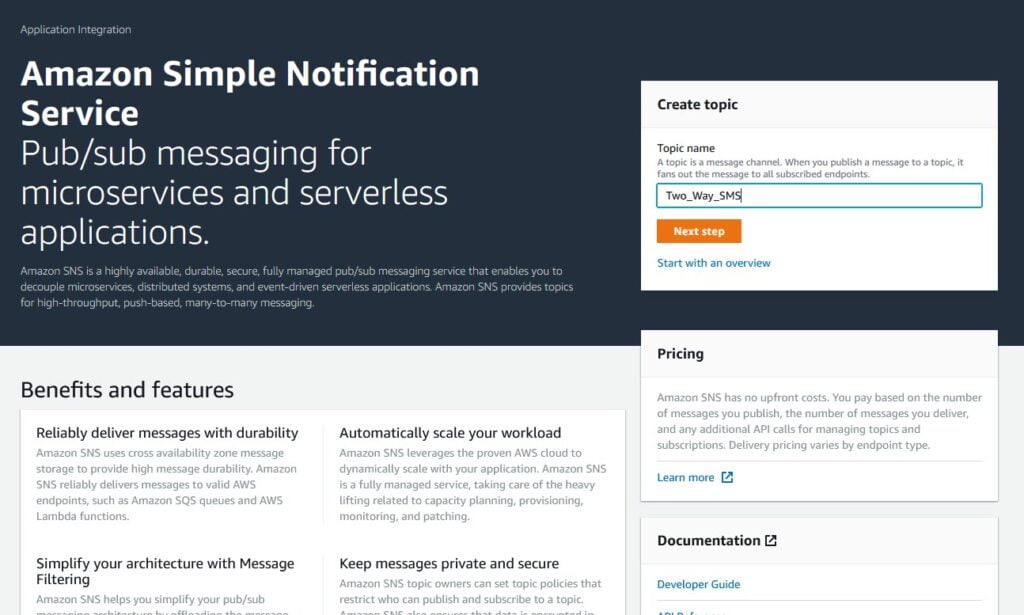
No need to apply any change in other settings. Add the description if needed then click on the "Create Topic" button.
After successfully creating the SNS topic, you are redirected to the next screen.
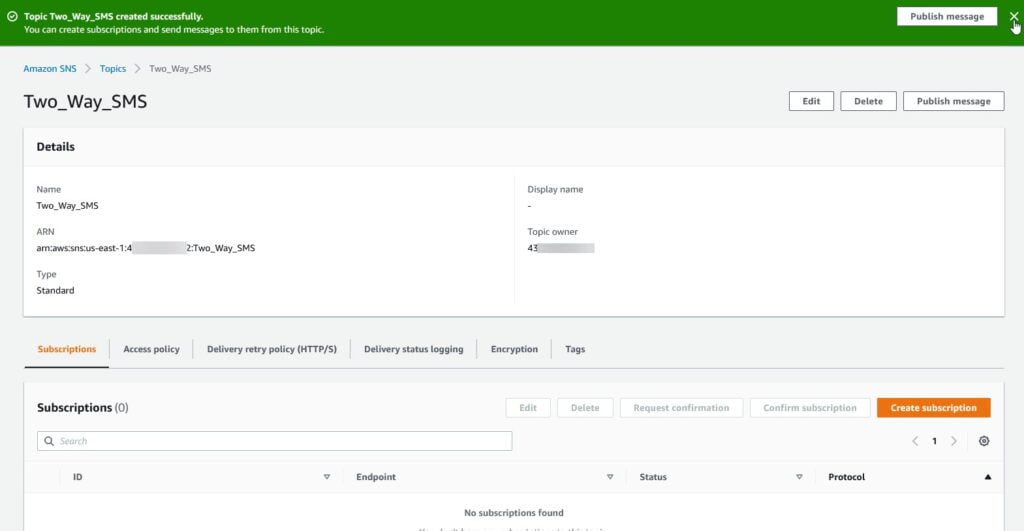
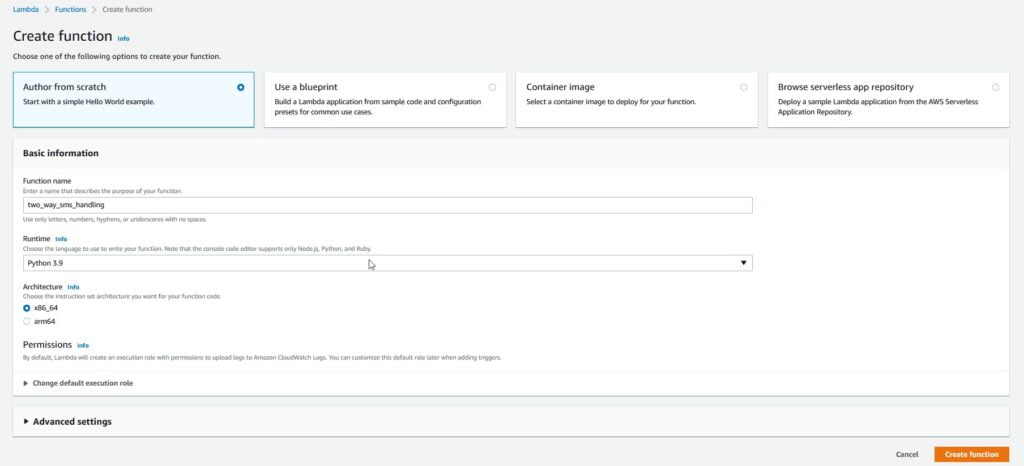
Still, we cannot read the user replies using this SNS topic. We have to add the subscription where those replies can be handled. In this tutorial, I'm using the Lambda function for handling our two-way communication. Let me create a basic Lambda function, later on updating this function for further handling.
I already explained about AWS Lambda function in my previous articles. If you are not familiar with Lambda then click here to read more.
Let's update the SNS in our Toll-Free number.
Create SNS Subscription
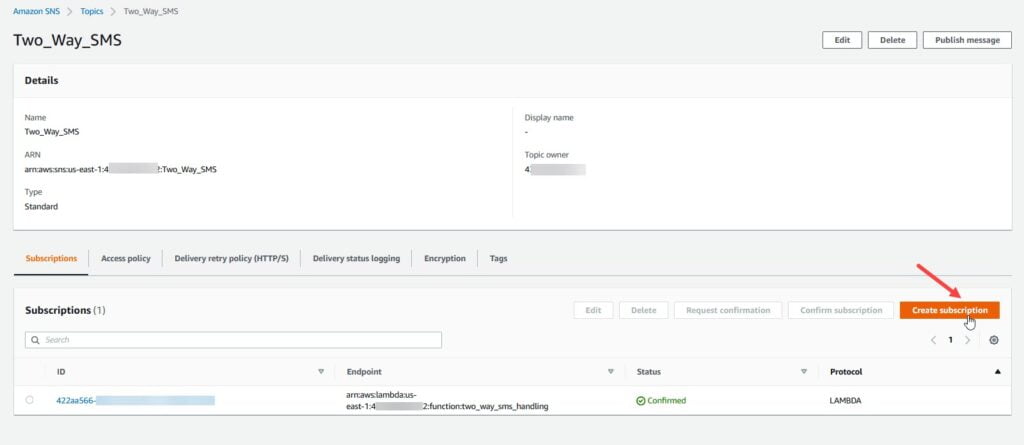
Go to the SNS console and open the topic "Two_Way_SMS". Click on the "Create subscription" button.
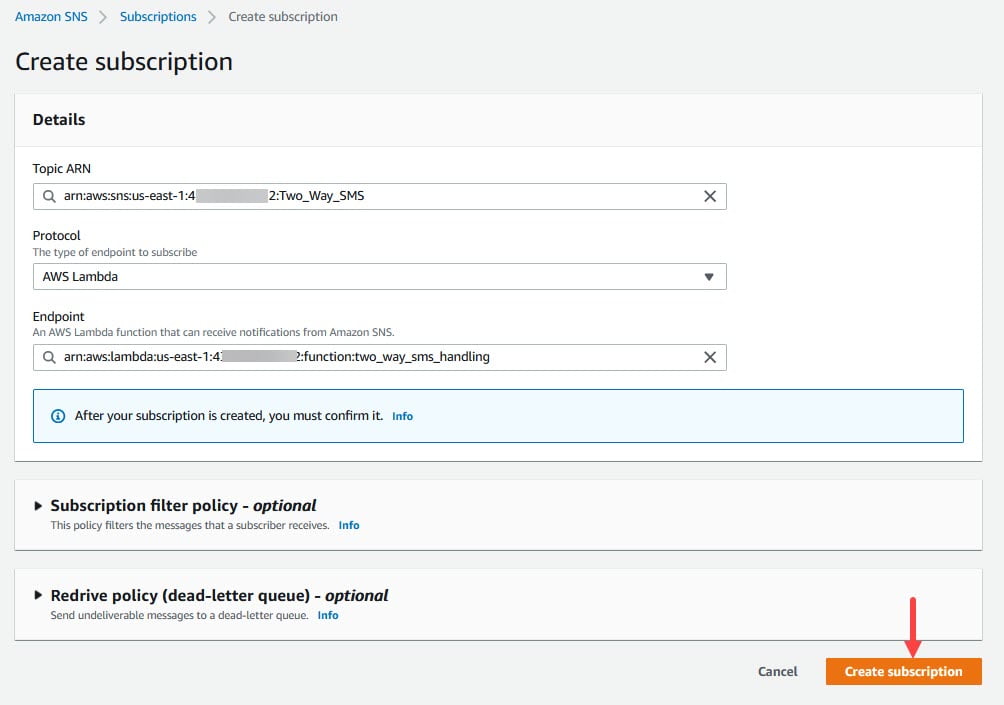
In the "Create subscription" form, you have to select AWS Lambda as a protocol and add the function ARN in the endpoint. Then click on the "Create subscription" button.
Handling Two Way SMS Communication
Open the newly created Lambda function "two_way_sms_handling", and update the following code snippet.
import json

def lambda_handler(event, context):
 # Get patient response and send to api for further appointment process
 resp = json.loads(event['Records'][0]['Sns']['Message'])
 print(resp)
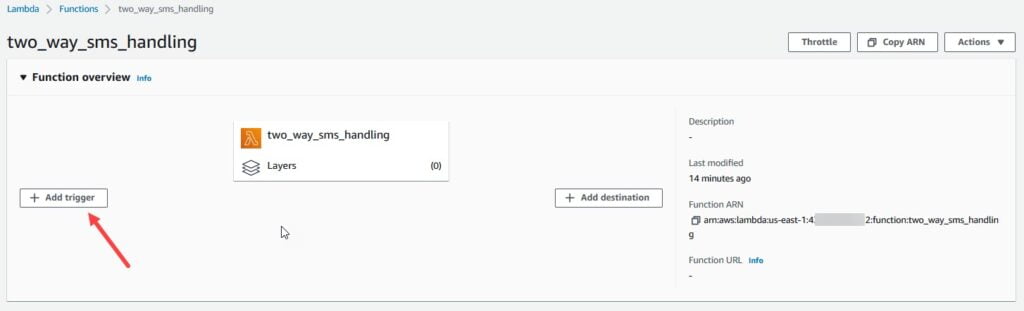
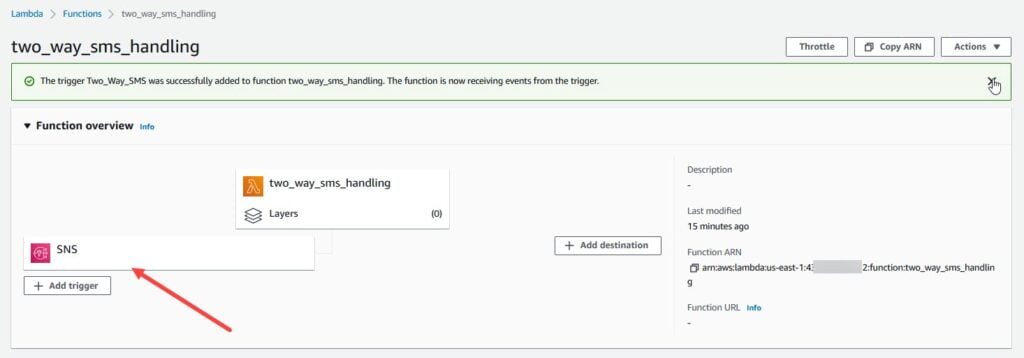
Here, we have to add a trigger to user replies sent to this function.
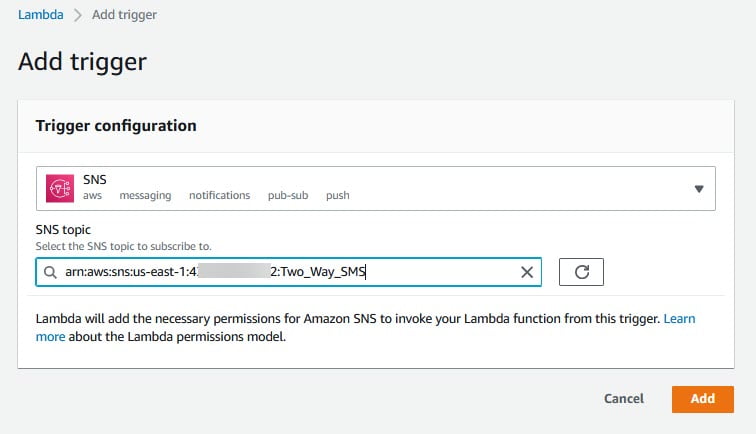
Choose the SNS from the dropdown and add select the SNS topic.
After adding the trigger, you are redirected to the Lambda function screen.
Whenever users replied back to our SMS then we receive the same reply with some of the system default parameters in the response. For example:
'originationNumber': '+18126664275', 'destinationNumber': '+1XXXXXXXXXX', 'messageKeyword': 'KEYWORD_393113800179', 'messageBody': '3', 'previousPublishedMessageId': 'm2tfblreu543o8ucciuevg***************', 'inboundMessageId': 'a40961af-31a3-4808-****-***********'As per the response:
- originationNumber = User mobile number.
- destinationNumber = Our AWS acquired toll-free number.
- messageBody = This is a user replied message body.
- previousPublishedMessageId = This is the previous message-id, you can use this to make the relation for the replied message sent against which message.
- inboundMessageId = Unique message id for further references.
You can apply changes in your Lambda function as per your needs. For this example, I'm printing the response in cloud watch for demonstration only.
Conclusion
In this article, we are discussing "How to Setup AWS Pinpoint SMS Two Way Communication (Part 2)?" Hope you like this article, I will explain how to manage SMS delivery reports using AWS Kinesis in my next article. Please feel free to add comments if any queries or suggestions.
Keep learning & stay safe ;)
Comments
Post a Comment