In this article, we will discuss "How to setup Amazon Kinesis Data Stream with Amazon Pinpoint (Part 3)?". This article is the third part of our Amazon Pinpoint Series. For better understanding, I recommend to readout the previous article.
How to Setup AWS Pinpoint (Part 1)
How to Setup AWS Pinpoint SMS Two-Way Communication (Part 2)?
Streaming Amazon Pinpoint events to Kinesis
In Amazon Pinpoint, when we send a transactional SMS or email message then an event will occur as per the action performed. In a simple way, Amazon Pinpoint sends information about events to Amazon Kinesis. Which, we read and process as per our requirement. We are talking about the SMS so we read the stream data to fetch the delivery reports of our SMSs.
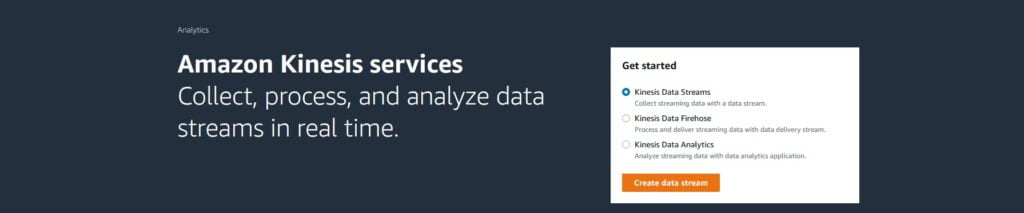
There are two types of streams given by the Amazon Kinesis such as Data Firehose, and Data Streams. Amazon Pinpoint can also stream data to Kinesis Data Streams, which ingests and stores multiple data streams for processing by analytics applications. For more details, please check here.
SMS Events
The type of events with the possible values are:
- _SMS.BUFFERED – The message is still in the process of being delivered to the recipient.
- _SMS.SUCCESS – The message was successfully accepted by the carrier/delivered to the recipient.
- _SMS.FAILURE – Amazon Pinpoint wasn't able to deliver the message to the recipient. To learn more about the error that prevented the message from being delivered, see attributes.record_status.
- _SMS.OPTOUT – The customer received the message and replied by sending the opt-out keyword (usually "STOP").
You can check the following JSON object with example data of SMS event contains.
 "event_type": "_SMS.SUCCESS",
 "event_timestamp": 1553104954322,
 "arrival_timestamp": 1553104954064,
 "event_version": "3.1",
 "application":
 "app_id": "a1b2c3d4e5f6g7h8i9j0k1l2m3n4o5p6",
 "sdk":
 ,
 "client":
 "client_id": "123456789012"
 ,
 "device":
 "platform":
 ,
 "session": ,
 "attributes":
 "sender_request_id": "565d4425-4b3a-11e9-b0a5-example",
 "campaign_activity_id": "cbcfc3c5e3bd48a8ae2b9cb41example",
 "origination_phone_number": "+1**********",
 "destination_phone_number": "+1**********",
 "record_status": "DELIVERED",
 "iso_country_code": "US",
 "treatment_id": "0",
 "number_of_message_parts": "1",
 "message_id": "1111-2222-3333",
 "message_type": "Transactional",
 "campaign_id": "52dc44b35c4742c98c5935269example"
 ,
 "metrics":
 "price_in_millicents_usd": 645.0
 ,
 "awsAccountId": "123456789012"
You can see the "record_status" in the above JSON example. Additional information about the record status of the message.
- SUCCESSFUL – The message was accepted by the carrier.
- DELIVERED – The message was delivered to the recipient's device.
- PENDING – The message hasn't yet been delivered to the recipient's device.
- INVALID – The destination phone number is invalid.
- UNREACHABLE – The recipient's device is currently unreachable or unavailable. For example, the device might be powered off or might be disconnected from the network. You can try to send the message again later.
- UNKNOWN – An error occurred that prevented the delivery of the message. This error is usually transient, and you can attempt to send the message again later.
- BLOCKED – The recipient's device is blocking SMS messages from the origination number.
- CARRIER_UNREACHABLE – An issue with the mobile network of the recipient prevented the message from being delivered. This error is usually transient, and you can attempt to send the message again later.
- SPAM – The recipient's mobile carrier identified the contents of the message as spam and blocked delivery of the message.
- INVALID_MESSAGE – The body of the SMS message is invalid and can't be delivered.
- CARRIER_BLOCKED – The recipient's carrier has blocked delivery of this message. This often occurs when the carrier identifies the contents of the message as unsolicited or malicious.
- TTL_EXPIRED – The SMS message couldn't be delivered within a certain time frame. This error is usually transient, and you can attempt to send the message again later.
- MAX_PRICE_EXCEEDED – Sending the message would have resulted in a charge that exceeded the monthly SMS spending quota for your account. You can request an increase to this quota by completing the procedure in Requesting increases to your monthly SMS spending quota in the Amazon Pinpoint User Guide.
- Failed to send because phoneNumber is opted out – The SMS message wasn't sent because the recipient previously opted out of receiving messages from you.
For more details, please check here.
Create Amazon Kinesis Data Stream
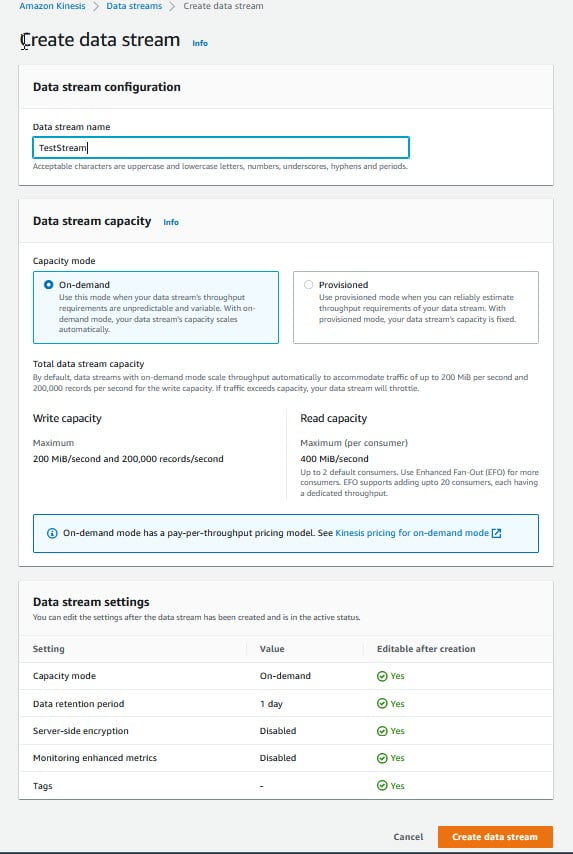
Let's create a Kinesis Data Stream. Go to the Amazon Kinesis console.
Add the Data stream name, and choose the Capacity mode "On-demand". Then click on the "Create data stream".
Enable Data Streaming in Amazon Pinpoint
Let enable the Amazon Kinesis Data Stream, but please check the pricing of Amazon Kinesis before enabling this service.
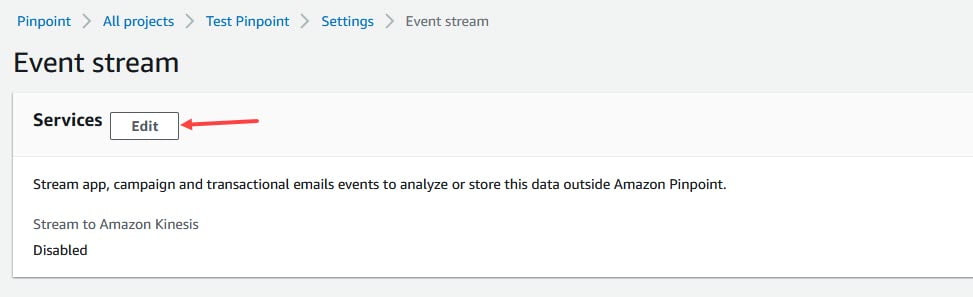
Go to the Pinpoint console, and select the Pinpoint project. Then click on the "Settings -> Event stream" located at the left side menu option.

You are redirected to the Event stream settings page. Click on the Edit button.
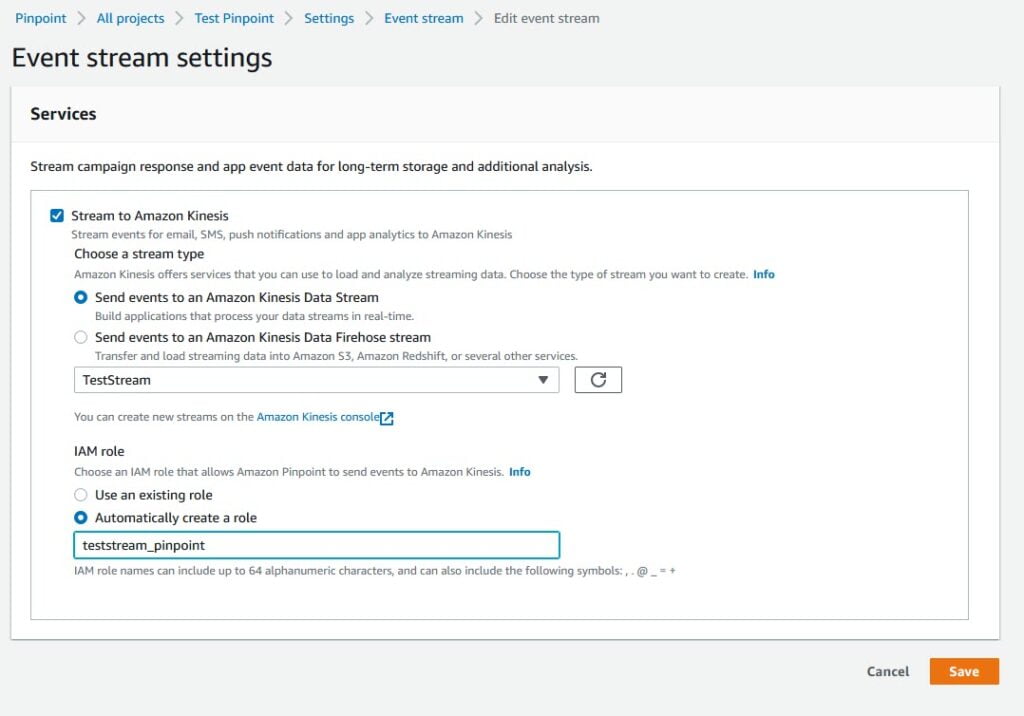
Here, you have to click on the "Stream to Amazon Kinesis". Then the form items are visible to you. After that choose "Send events to an Amazon Kinesis Data Stream" and select the Kinesis Data Stream in the given dropdown. And, choose "Automatically create a role". Add the name for the role then click on the "Save" button.
Now, the Event stream is active for that Pinpoint project.
Create Lambda Function
Go to the Lambda functions console and click on the create function button. Then add the function name "pinpoint_kinesis_data_stream" and select Runtime language, I'm choosing python for my example.
Open the code editor and update the following code:
import json
import base64

def lambda_handler(event, context):
 # print(event)

 for record in event['Records']:
 sequenceNumber = record['kinesis']['sequenceNumber']
 data = record['kinesis']['data']

 base64_bytes = data.encode('ascii')
 message_bytes = base64.b64decode(base64_bytes)
 filteredData = message_bytes.decode('ascii')

 log = json.loads(filteredData)
 print(log)

 allowedEvents = ['_SMS.BUFFERED', '_SMS.SUCCESS', '_SMS.FAILURE']

 if log['event_type'] in allowedEvents :
 recordStatus = log['attributes']['record_status']
 messageId = log['attributes']['message_id']

 # Logic to process the delivery reports.
 # You can process data directly from Lambda to DB or send the same as payload to specific API.
Setup Trigger to Link Kinesis Data Stream to Lambda Function
Scroll up and go to the function overview section then click on the Add trigger button.
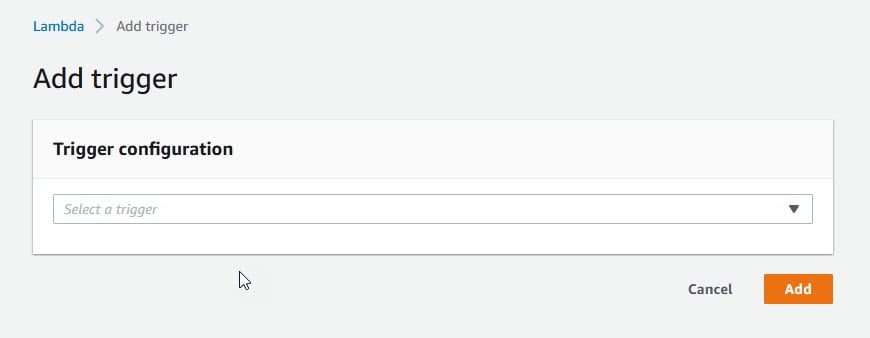
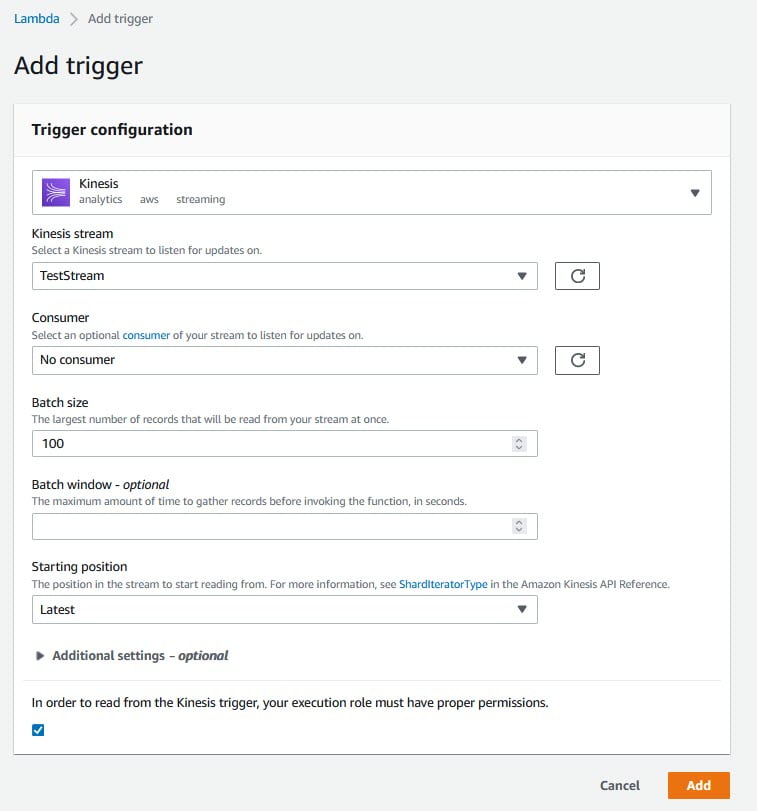
Choose "Kinesis" from the dropdown. After that, the form item is visible to you. You have to choose the "Kinesis stream". No need to apply any change in other items. Click on the "Add" button.
Error occur:

This error is related to permissions. So we have to attach permissions to our Lambda function to access Amazon Kinesis.
Attach the following policies:
- AWSLambdaKinesisExecutionRole
- AmazonKinesisFullAccess
- CloudWatchLogsFullAccess
All done, add the trigger again this time no error show. We have add Amazon Kinesis as a trigger to out Lambda function.
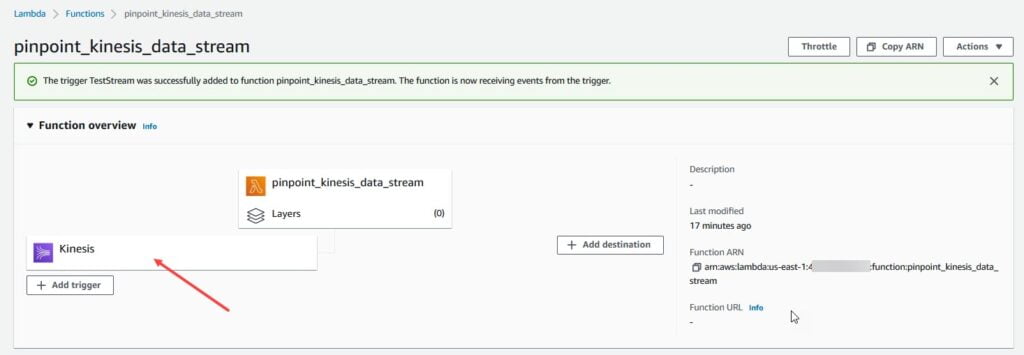
That Lambda function triggers in the background to read the Amazon Kinesis Data Stream.
Conclusion
In this article, we are discussing "How to setup Amazon Kinesis Data Stream with Amazon Pinpoint (Part 3)?". I hope, you like this article and learn a lot. Please feel free to add comments if any queries or suggestions.
Keep learning & stay safe :)
Comments
Post a Comment