In this article, we will discuss "How to deploy Angular App on Firebase". Today, you learn deployment an angular app on firebase is simple and easy. You can deploy your application directly from your terminal using simple commands. In case you are not familiar with firebase, it helps us to build and run web/mobile applications. For more details click here.
Create an Angular Test App
I have created a test application "firebase-test-app". You can create a new project using the following command:
ng new <project-name>
You can learn more about Angular CLI (All You Need To Know About Angular CLI).
Create Firebase App
Go to the Firebase Console, and create a project.
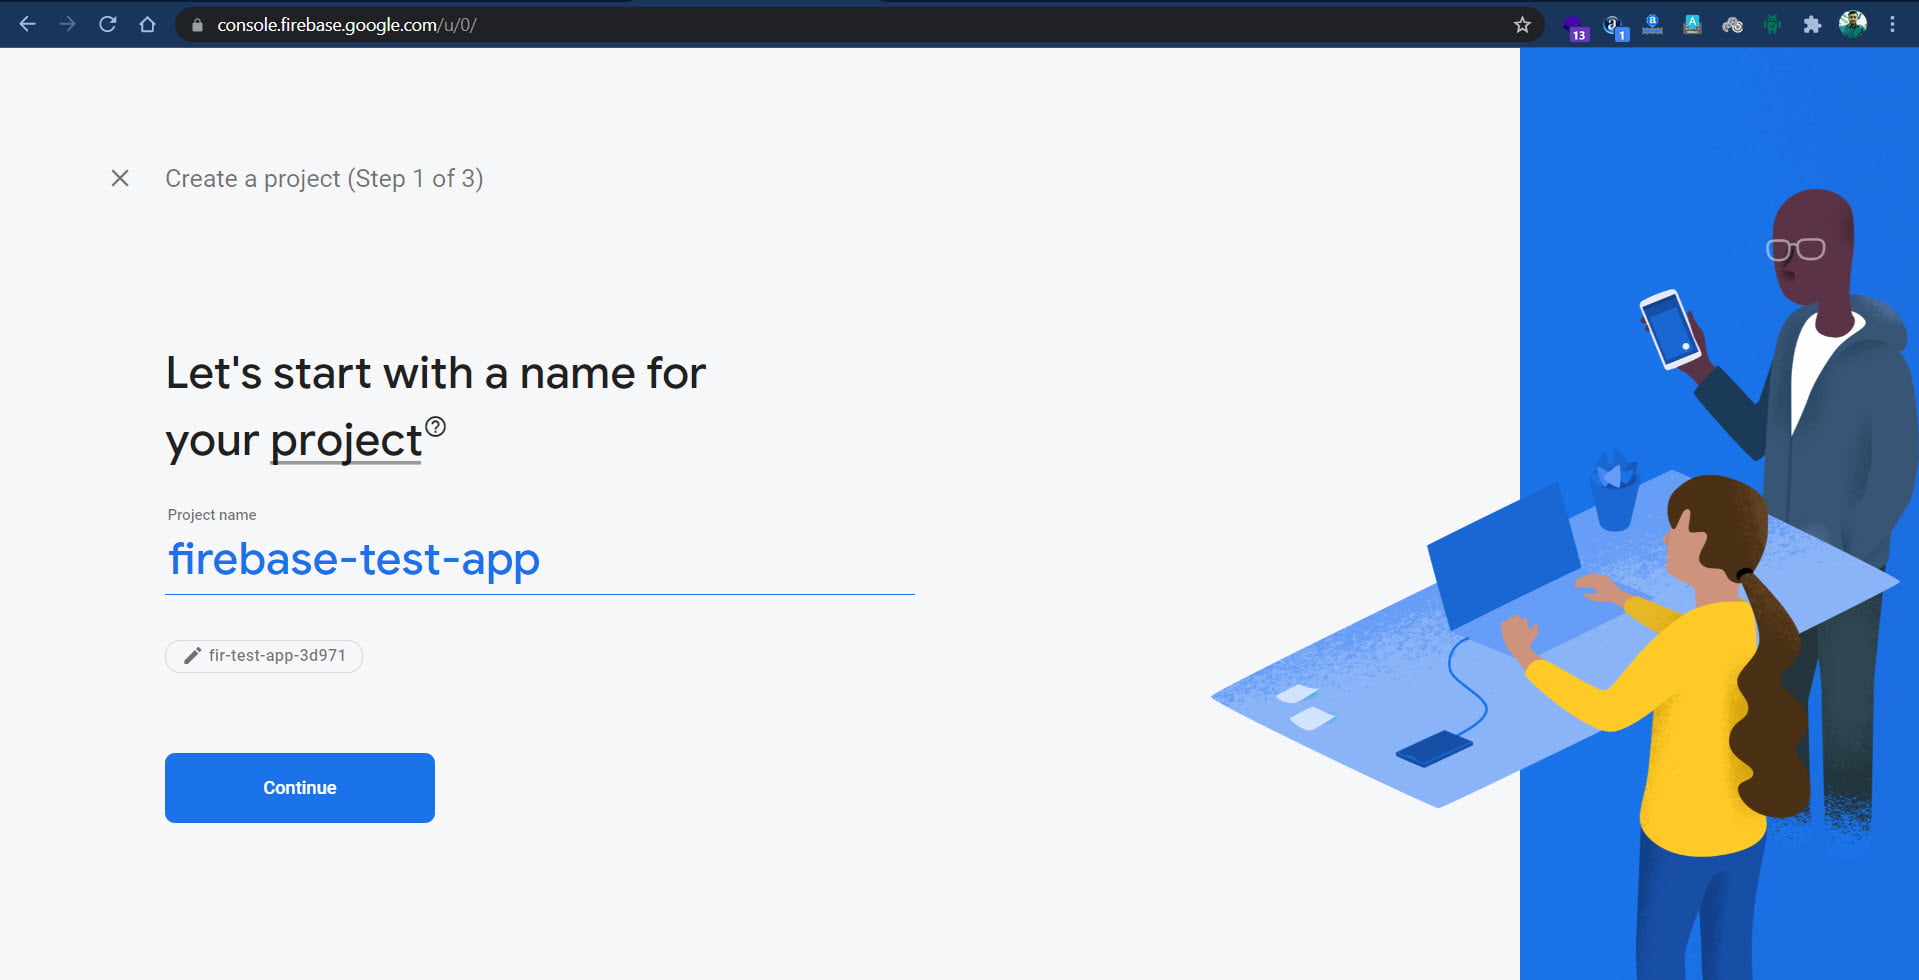
Add project name then click continue.
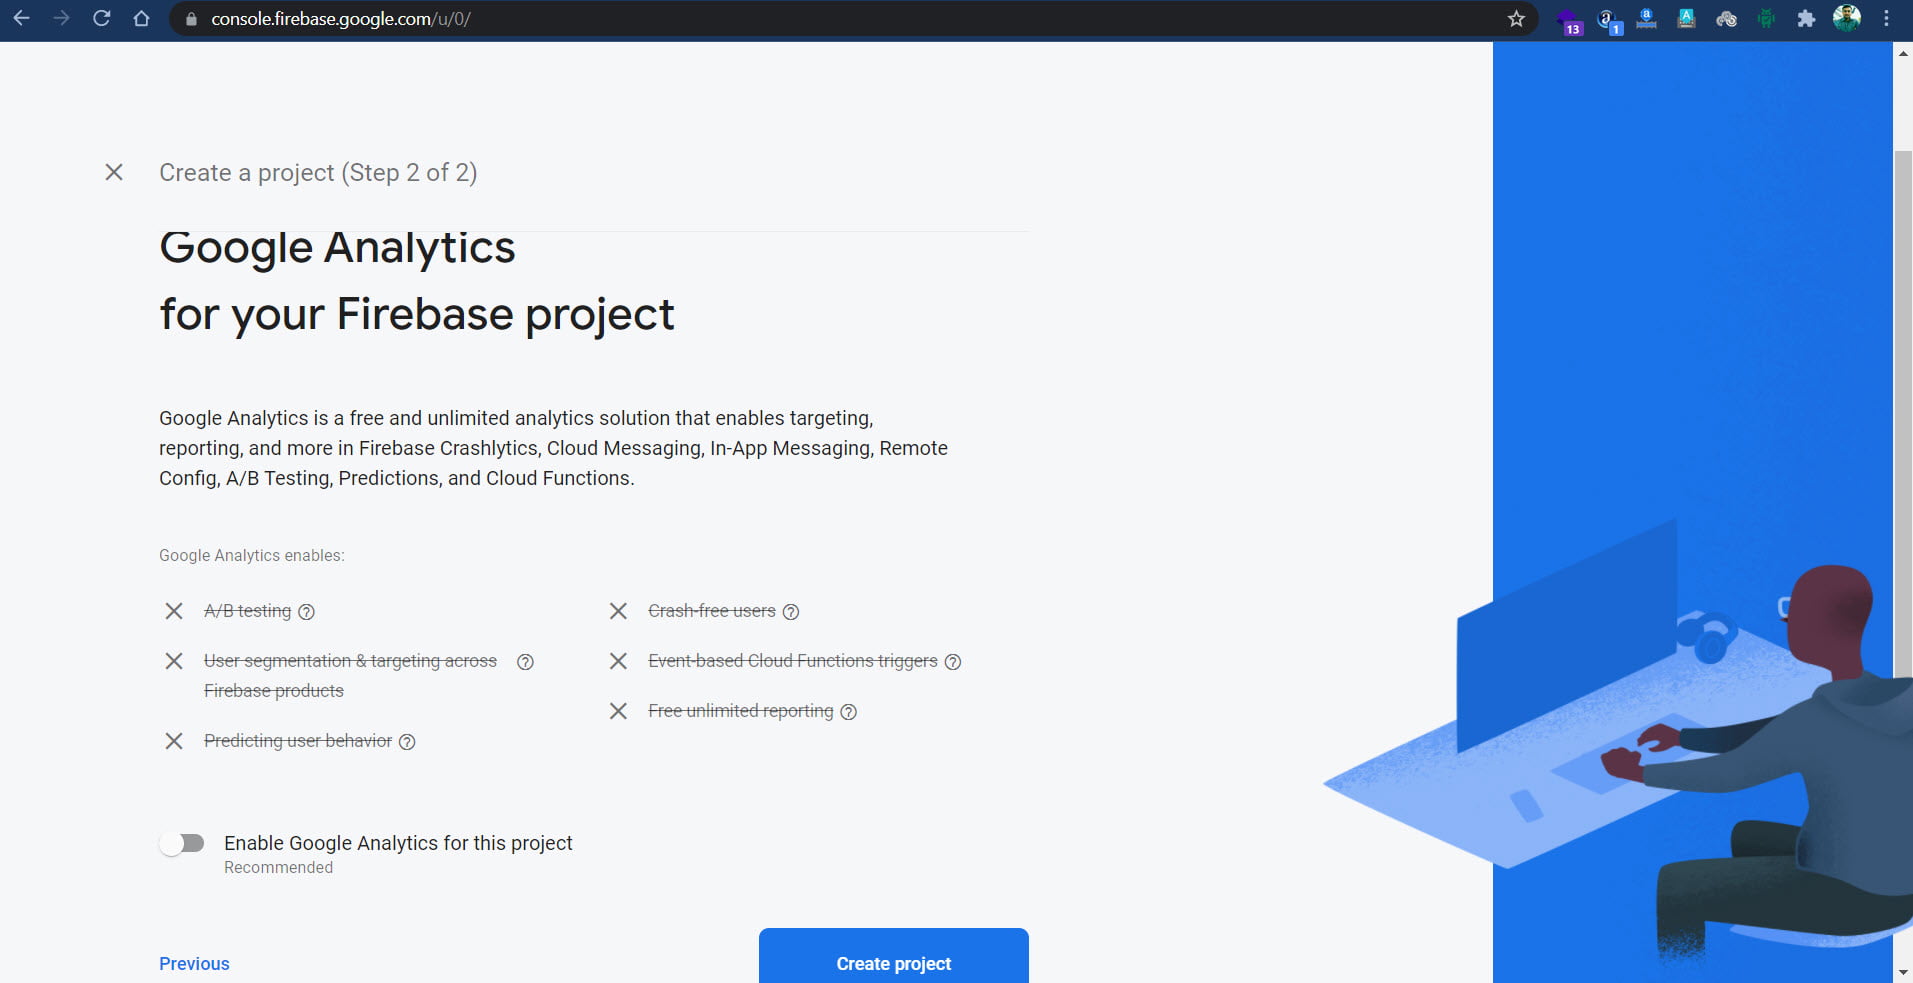
I'm disabling the Google Analytics option because this is a test project. You can enable this in your project as per your requirements.
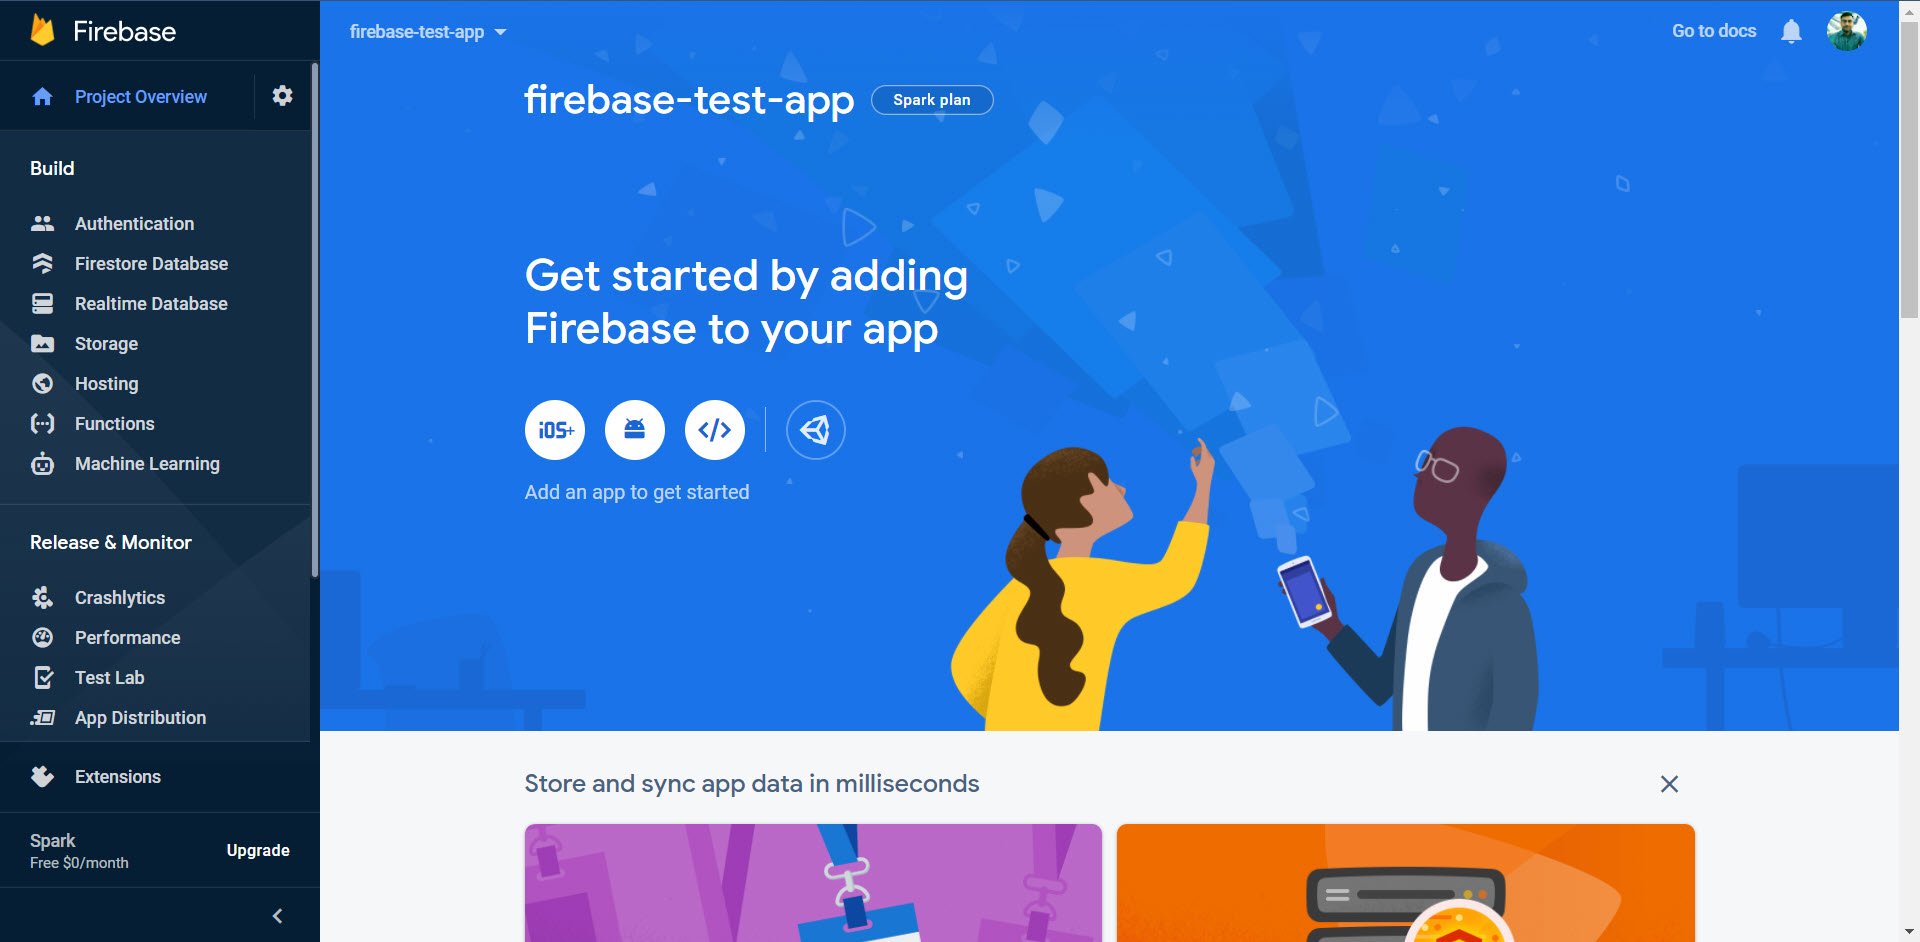
Click to "Create project", after the processing is complete you are redirected and get the confirmation. Click to continue, and you are redirected to the project dashboard.
Setup Firebase in Angular App
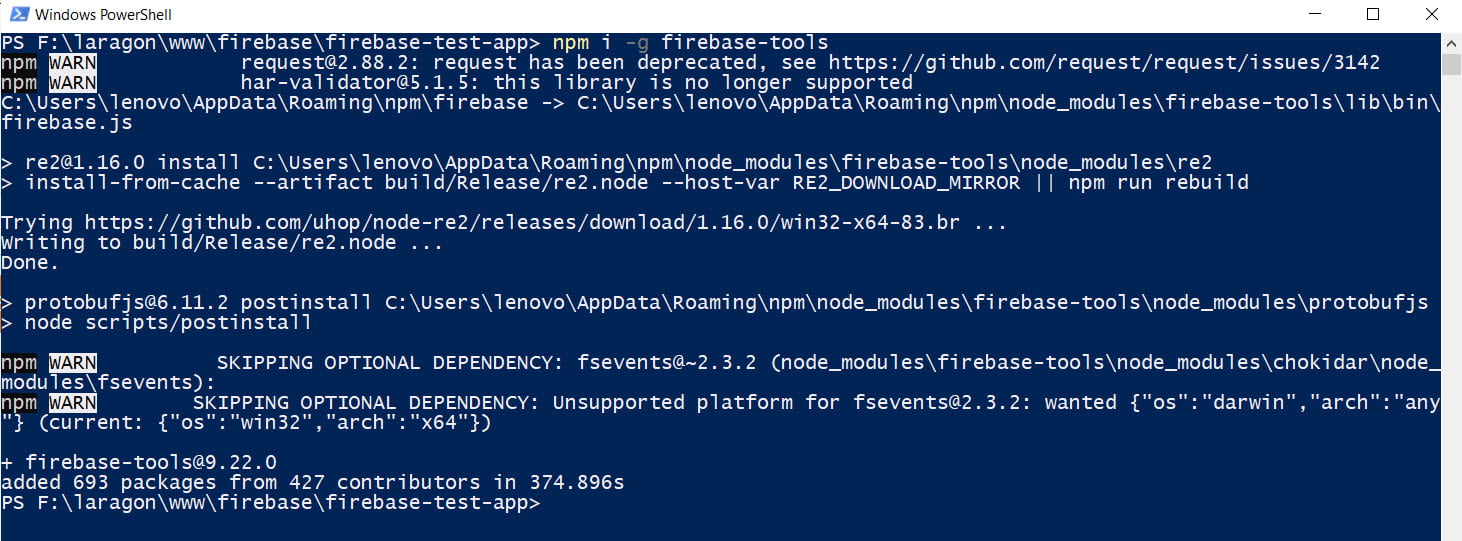
You have to use the following command to install Firebase globally.
npm i -g firebase-tools
Looks like the given screenshot.
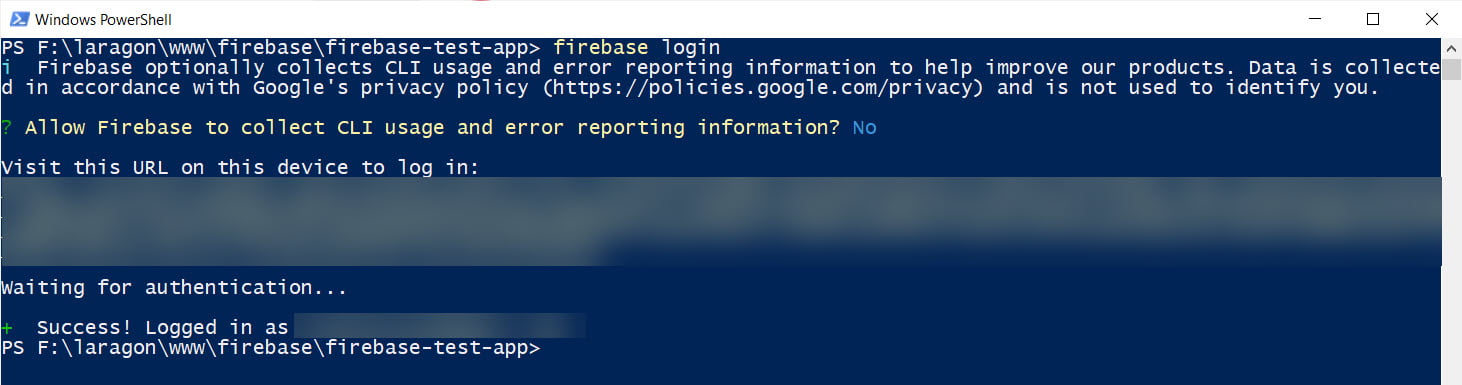
After successful installation, time to authenticate the firebase account. You the following command in the terminal.
firebase login
If you are not logged in to your Gmail account then it will ask you to authenticate with Gmail. Also, some permissions are required to use Firebase CLI. Use the same account which you have used for the firebase project.
I'm already logged in the Gmail so the result looks like the given screenshot for me.
Time to initialize the firebase. Run the following command.
firebase init
Firebase's initialization process needs some answers. You have to answer correctly for successful hosting.
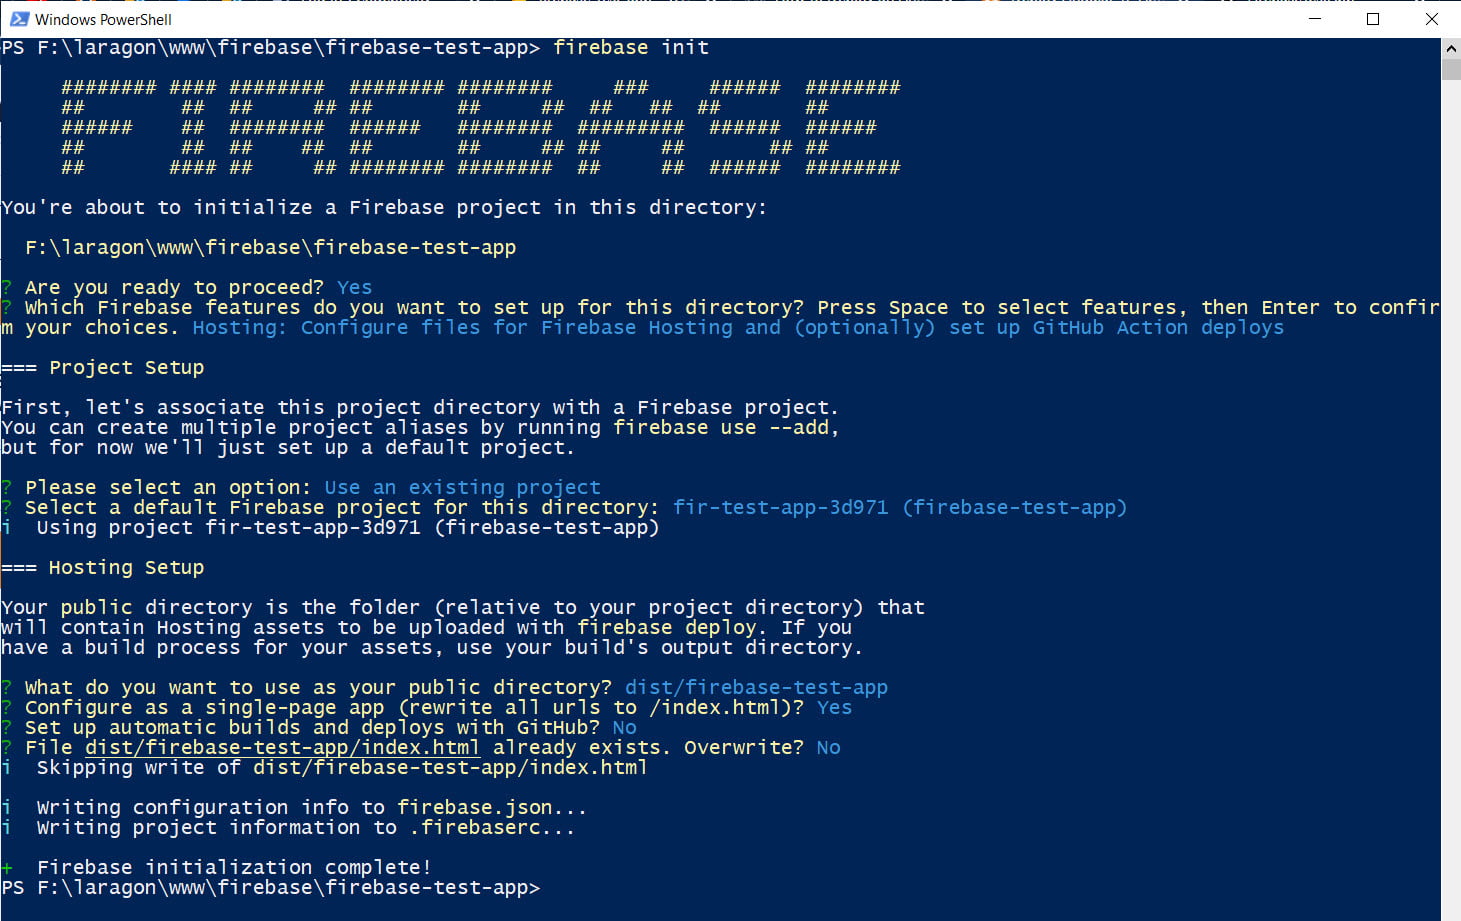
- Are you ready to proceed? [Yes]
- Which firebase features do you want to set up for this directory? Press space to select features, then Enter to confirm your choices. [Hosting: Configure files for Firebase Hosting and (optionally) set up GitHub Action deploys]
- Note that you can select multiple features too, but for now, we need only hosting.
- Please select an option. [Use an existing project]
- Select a default Firebase project for this directory. [Select the project from the given list as per your firebase account]
- What do you want to use as your public directory? [dist/firebase-test-app]
- Configure as a single-page app (rewrite all URLs to /index.html)? [Yes]
- Set up automatic builds and deploys with GitHub? [No]
- File dist/firebase-test-app/index.html already exists. Overwrite? [No]
Here, I link the dist folder to the firebase. You have to create the build of your angular application. Otherwise, that folder does not exist in your application.
Deploy Application
All's done, time to deploy the application. Use the following command in the terminal.
firebase deploy
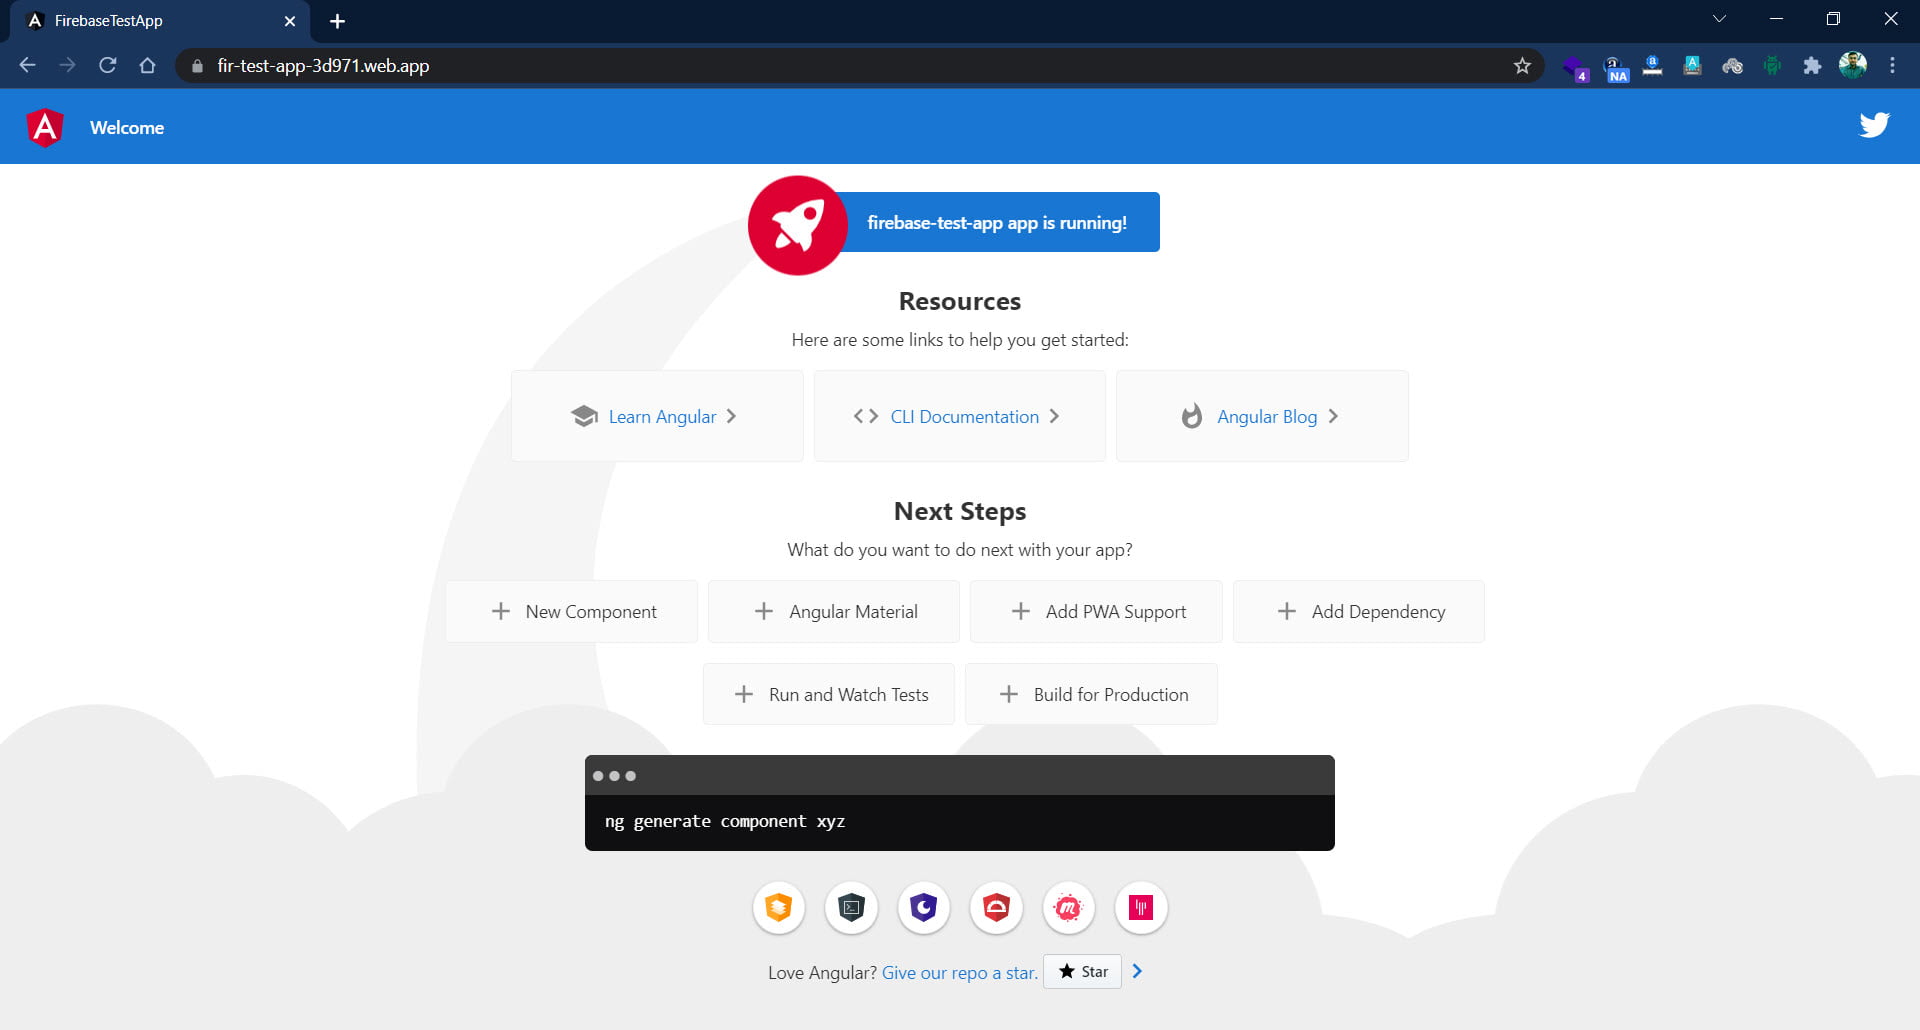
After completing the deploying process, firebase will give you a URL of your deployed application.

Let's check our test app here (https://fir-test-app-3d971.web.app).
Conclusion
In this article, we are discussing "How to deploy Angular App on Firebase". I hope you like this article and learn a lot. We will discuss more on Firebase and Angular in the future. Feel free to add your comments for any query or suggestion.
Keep learning & stay safe :)
Comments
Post a Comment