In this article, we will discuss "How to Setup an EC2 Instance on AWS?". An Amazon EC2 instance is a virtual server in Amazon's Elastic Compute Cloud (EC2) for running applications on the Amazon Web Services (AWS) infrastructure. It provides scalable computing capacity in the Amazon Web Services (AWS) Cloud. There are four main options to purchase Amazon EC2 Instances such as On-Demand Instances, Reserved Instances, Spot Instances, and Savings Plans. Basically, Amazon Elastic Compute Cloud (EC2) is the Amazon Web Service we use to create and run virtual machines in the cloud.
Amazon provides EC2 instances under the free tier, it includes 750 hours of Linux and Windows t2.micro instances. For more details on the free tier click here. After the free tier period is over, AWS charged us as per the instance configuration. Click here to check the pricing details.
Prerequisites
- AWS Account
- AWS Management Console Access
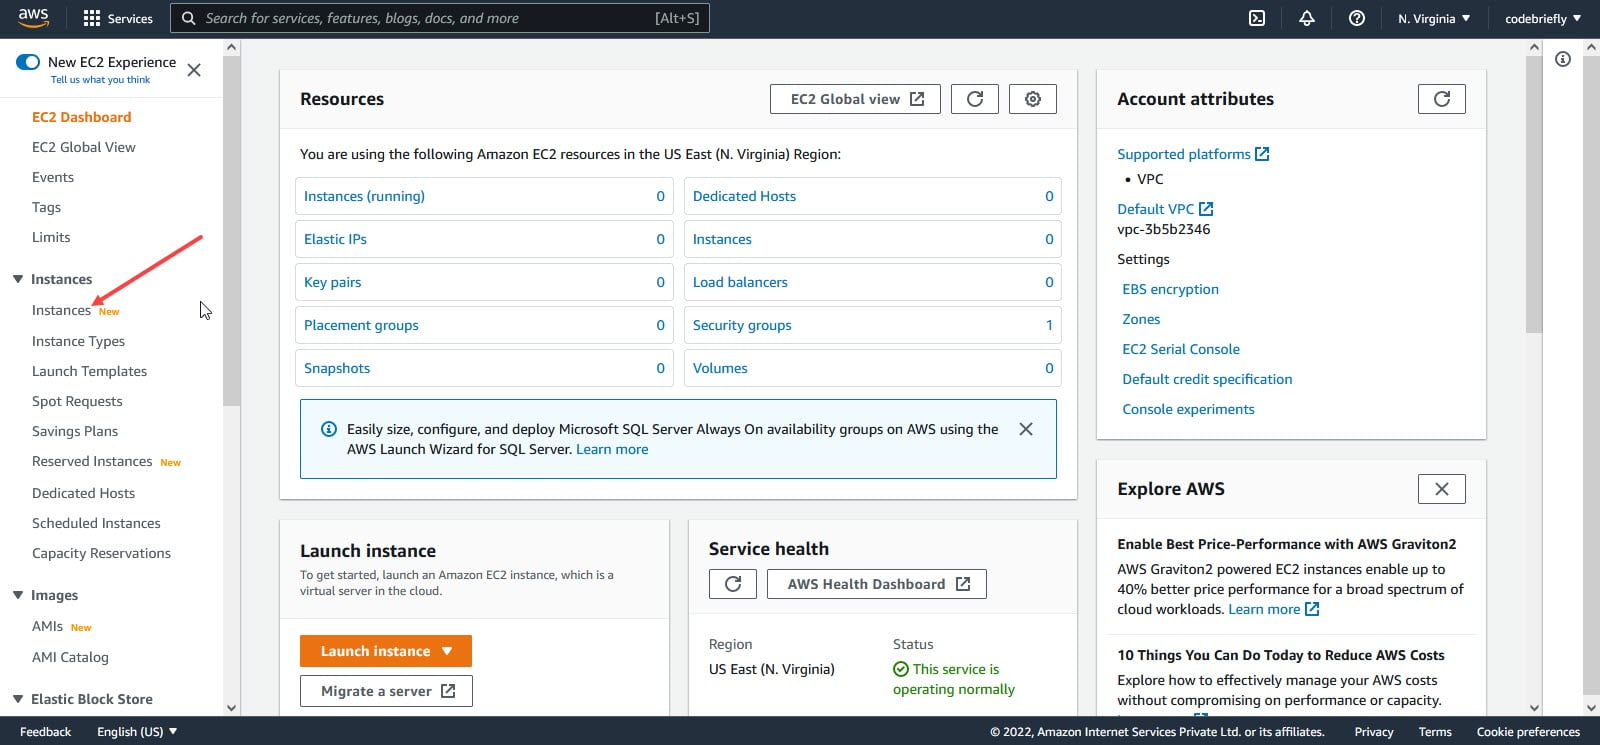
Login to AWS Management Console
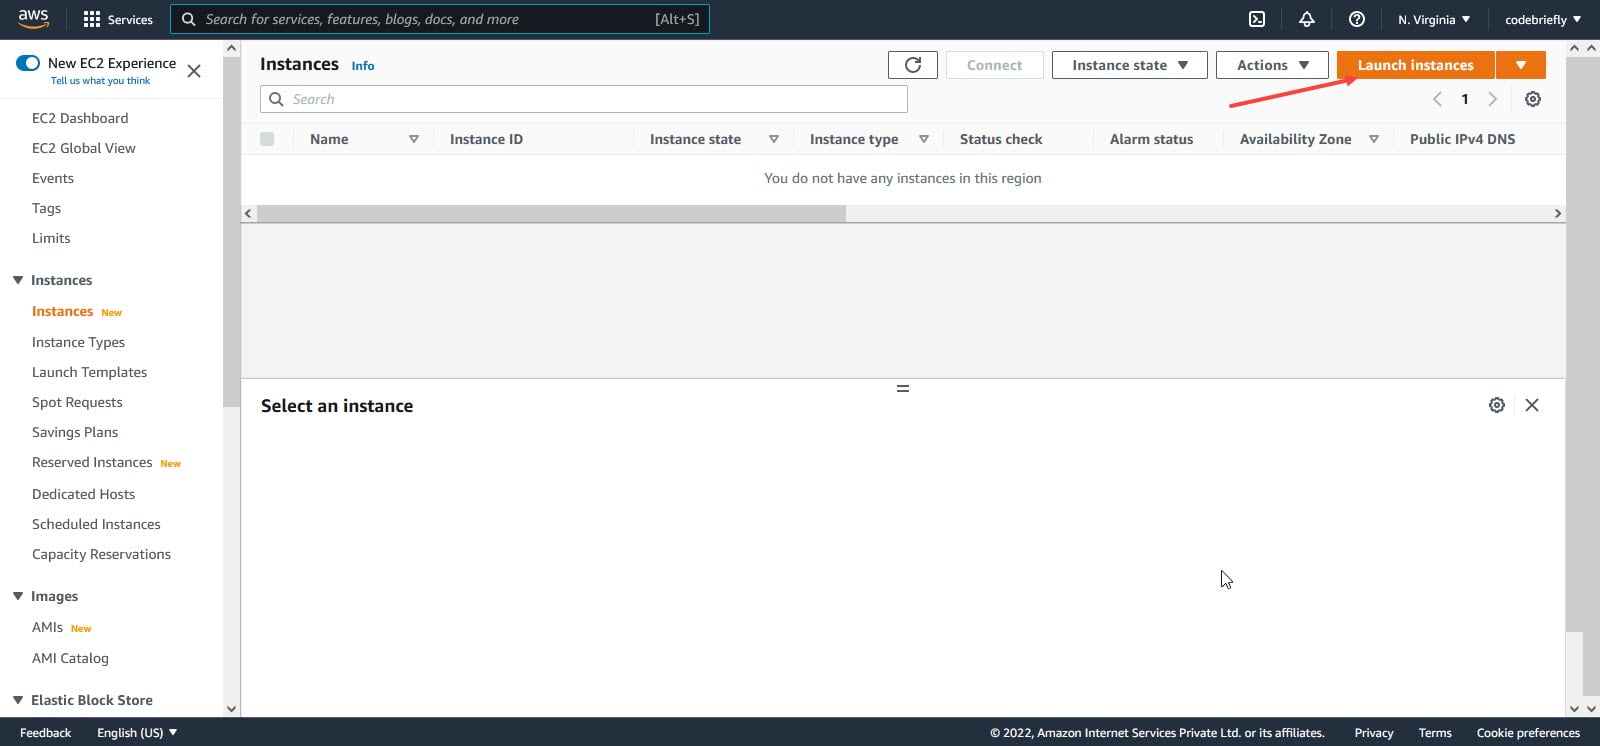
Login to your AWS account and go to EC2 Instance Console. Then, click on the "Instances" tab as per the following screenshot.
After that click on the "Launch instances" button.
Setup EC2 instance
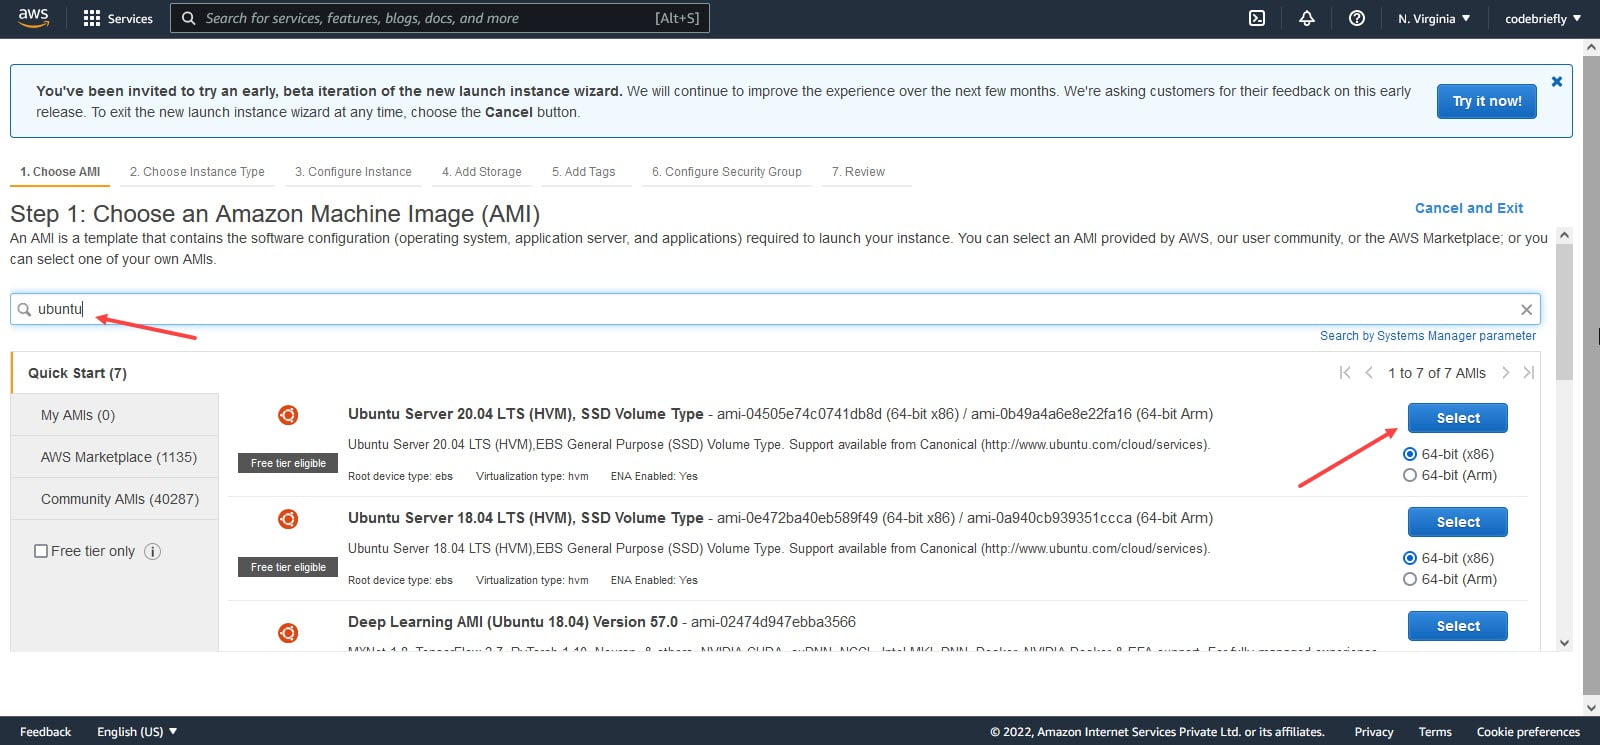
We have redirected to the "Launch Instance Wizard". Follow the given steps:
Choose AMI
Choose an Amazon Machine Image (AMI). Here, I'm choosing "Ubuntu Server 20.04 LTS". Note that it's available in AWS free tier, you can choose AMI as per your requirement or experience.
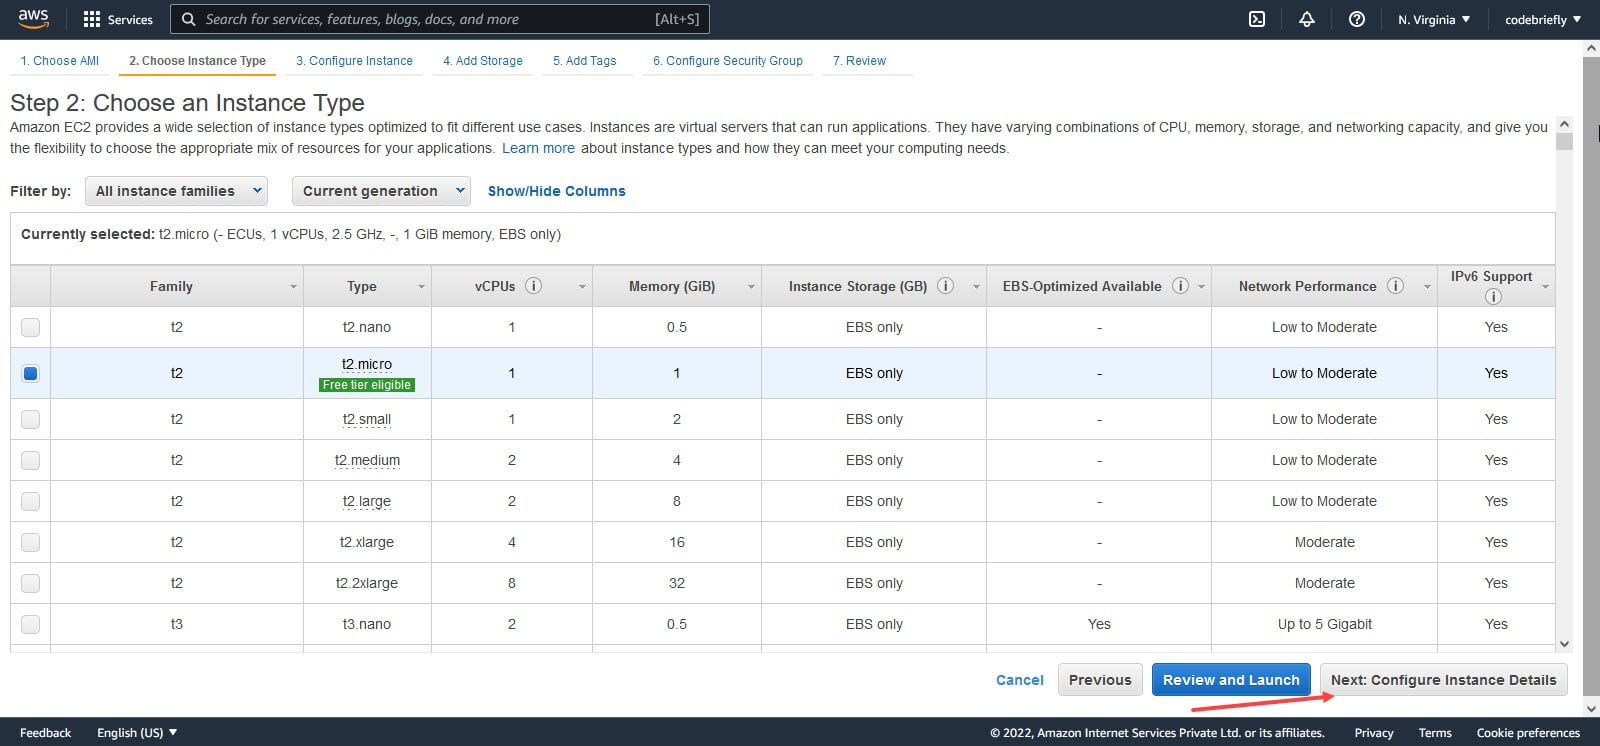
Choose Instance Type
Amazon EC2 provides a wide selection of instance types optimized to fit different use cases. Instances are virtual servers that can run applications. They have varying combinations of CPU, memory, storage, and networking capacity, and give you the flexibility to choose the appropriate mix of resources for your applications. As per the free tier, I choose t2.micro for this demo.
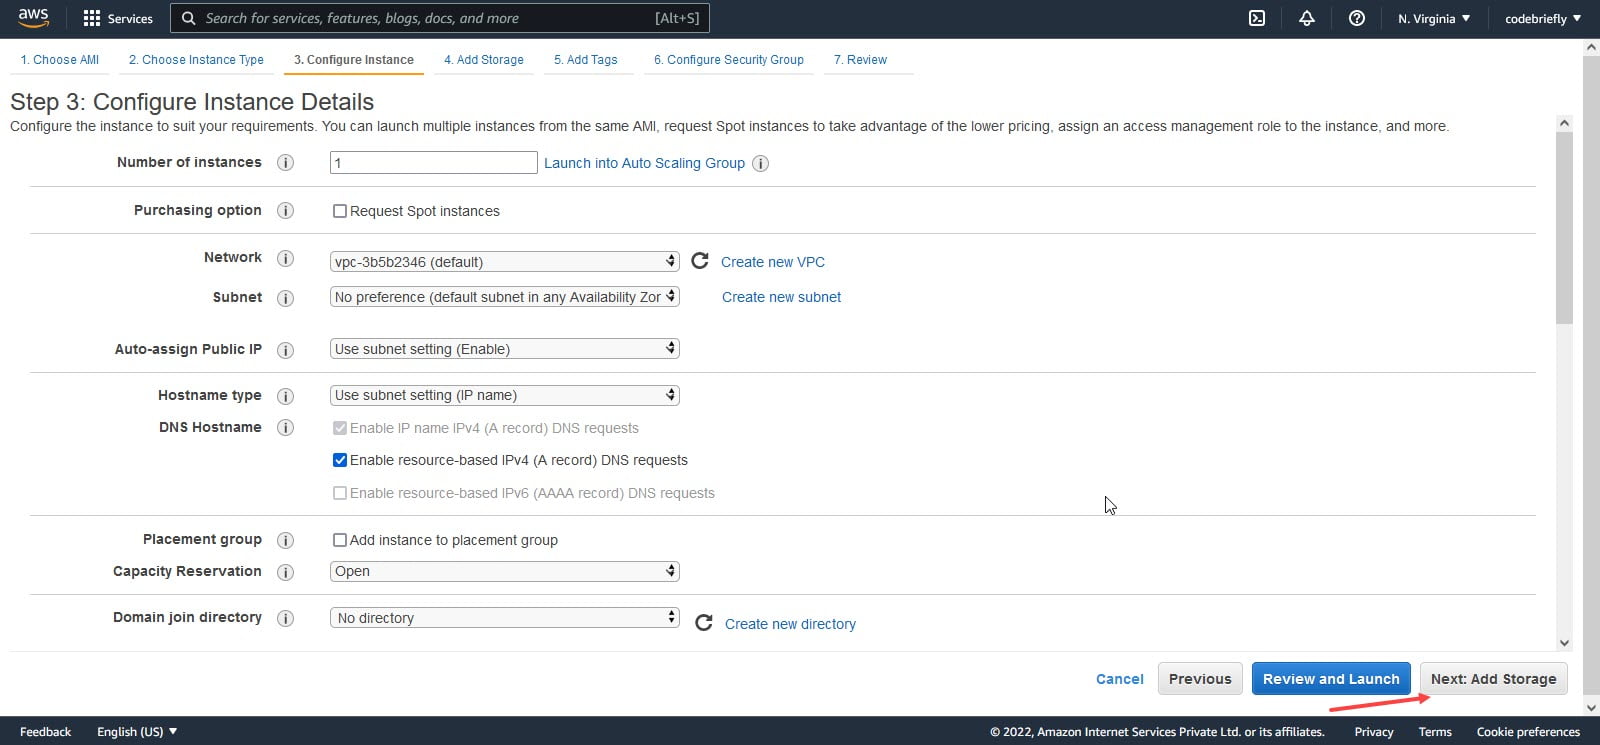
Configure Instance
In this step, we can configure our instance as per our requirements. You can launch multiple instances from the same AMI, request spot instances for lower pricing, assign roles and etc.
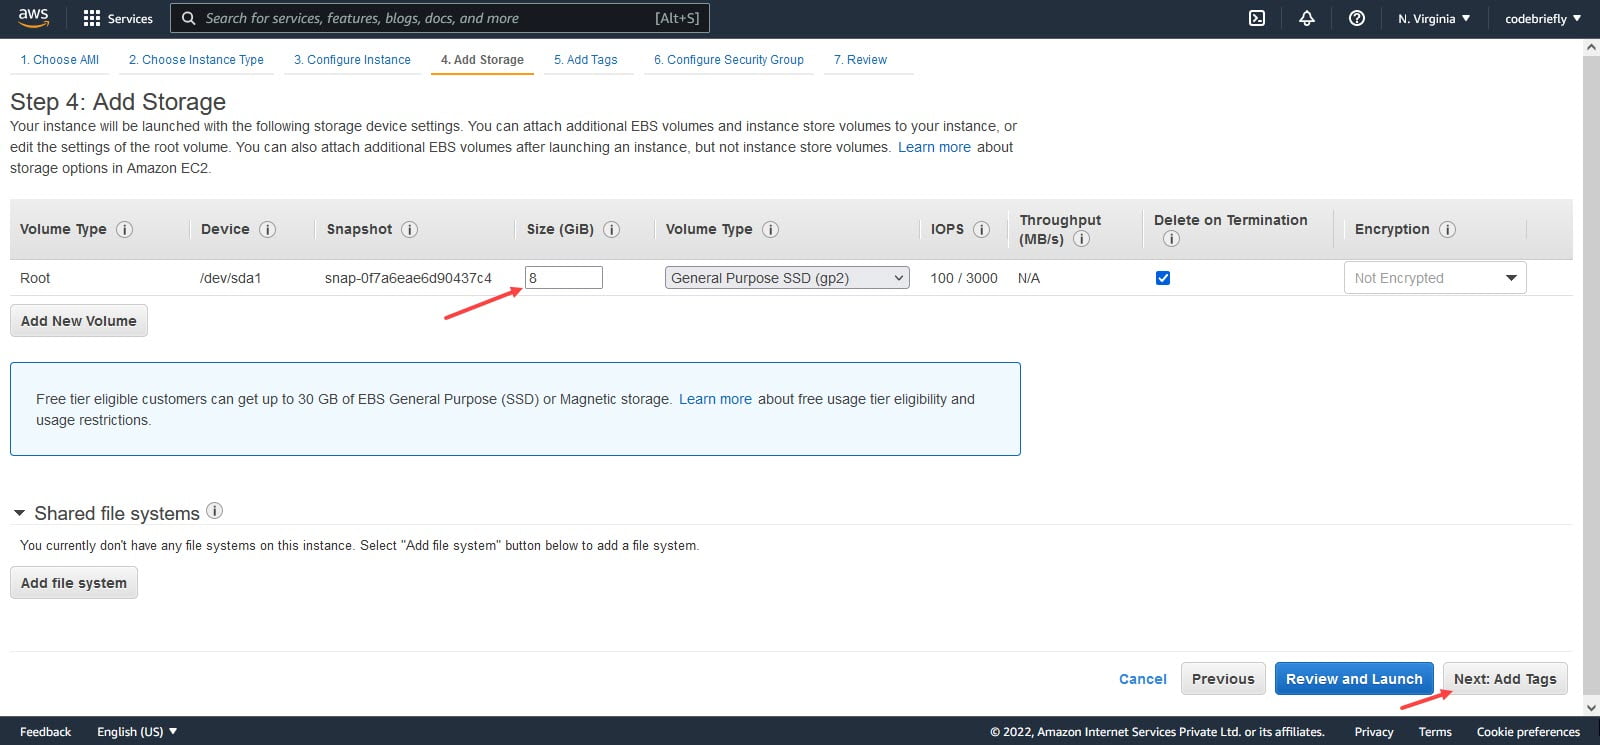
Add Storage
Here, we can increase or decrease the size of instance storage while creating it. The free tier is eligible upto 30GB, if you need more storage, it will be billed according to Elastic Block Store.
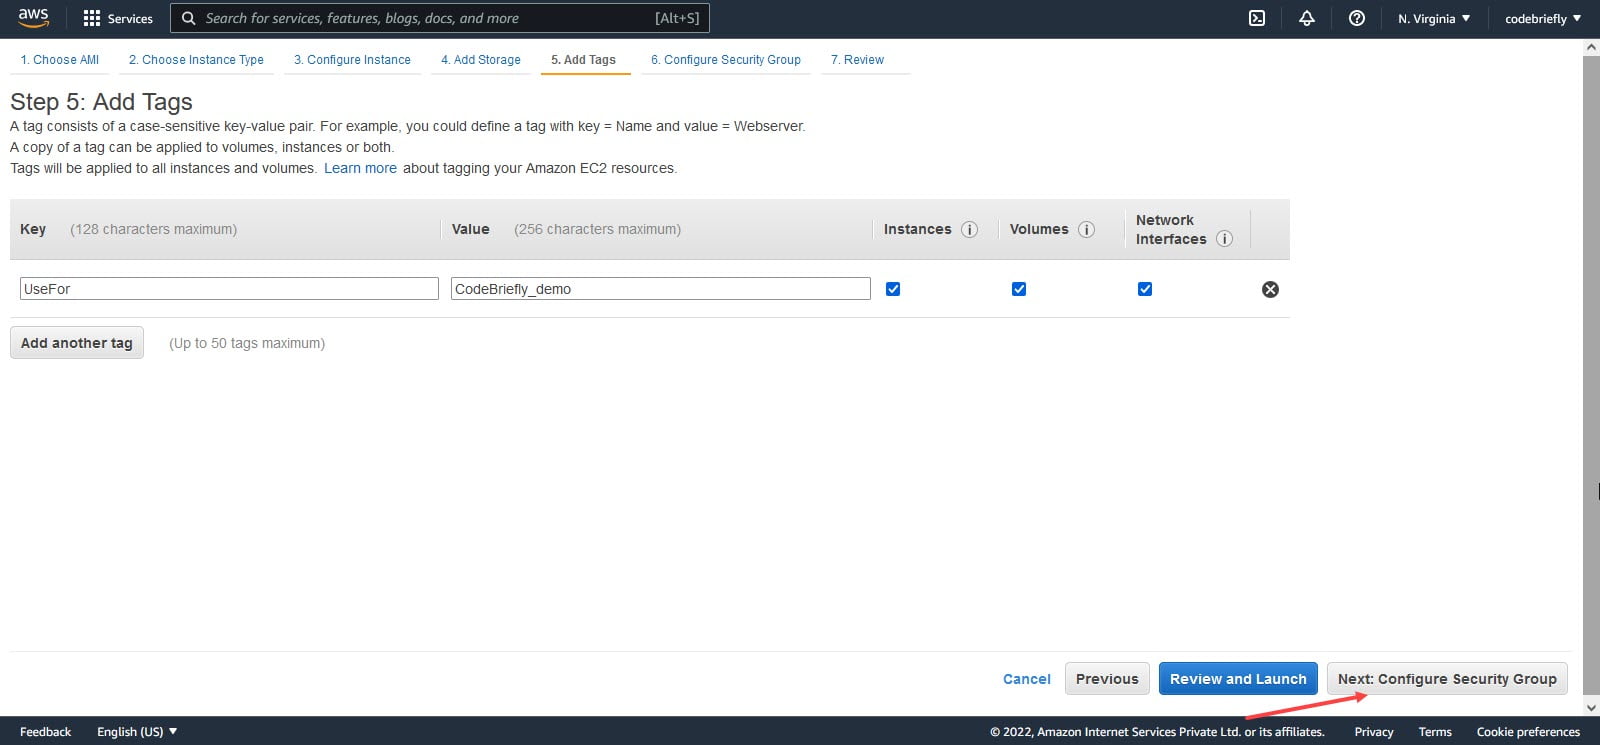
Add Tags
Here, we can add tags to our instance and storage, these tags are key-value pairs that are very useful to add properties to our resources, especially when we have multiple instances.
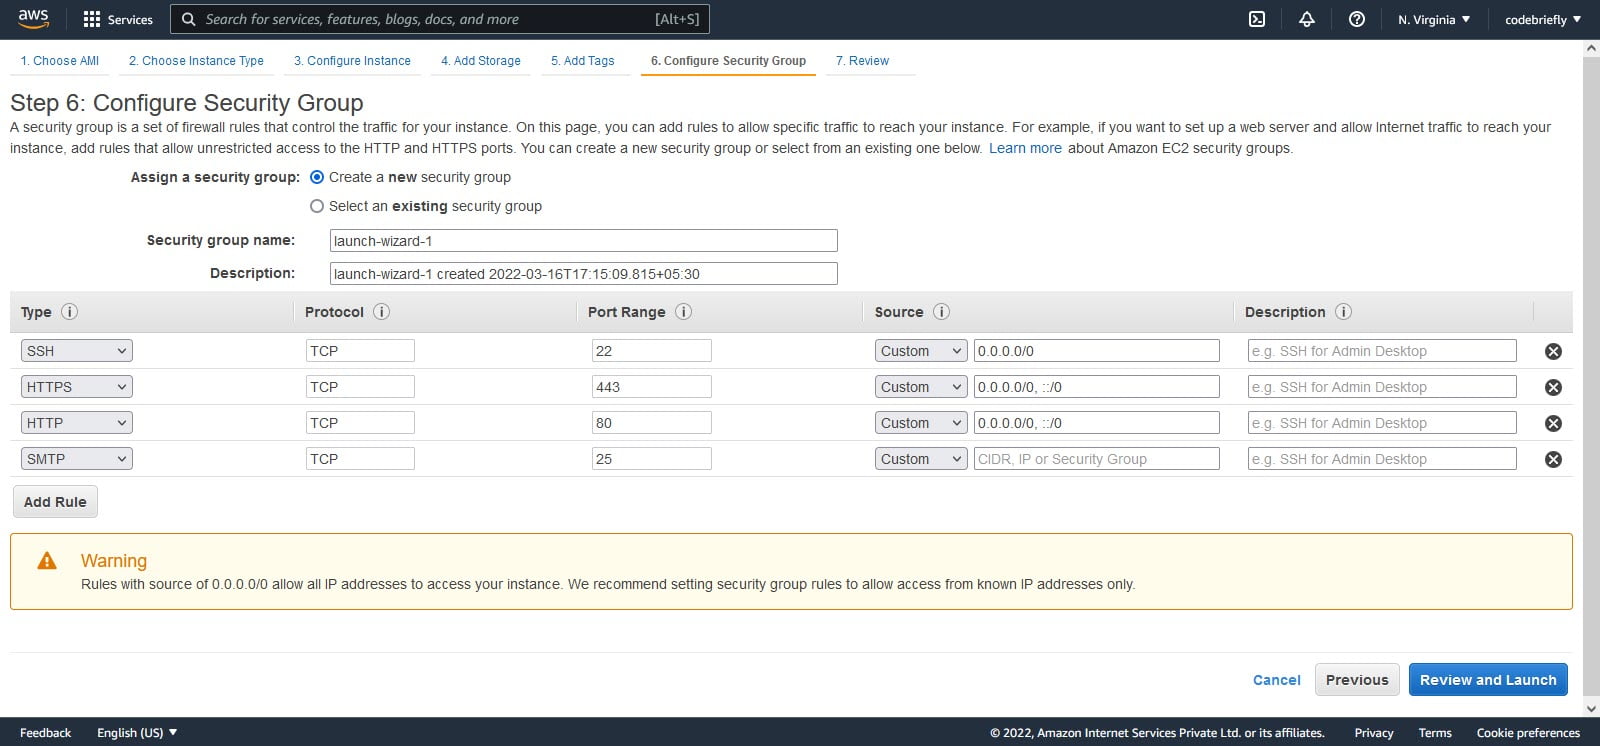
Configure Security Group
We can define the firewall rules in a security group attached to our instance. With the help of these rules, we can control the traffic to our instance. Click on the Review and Launch Button.
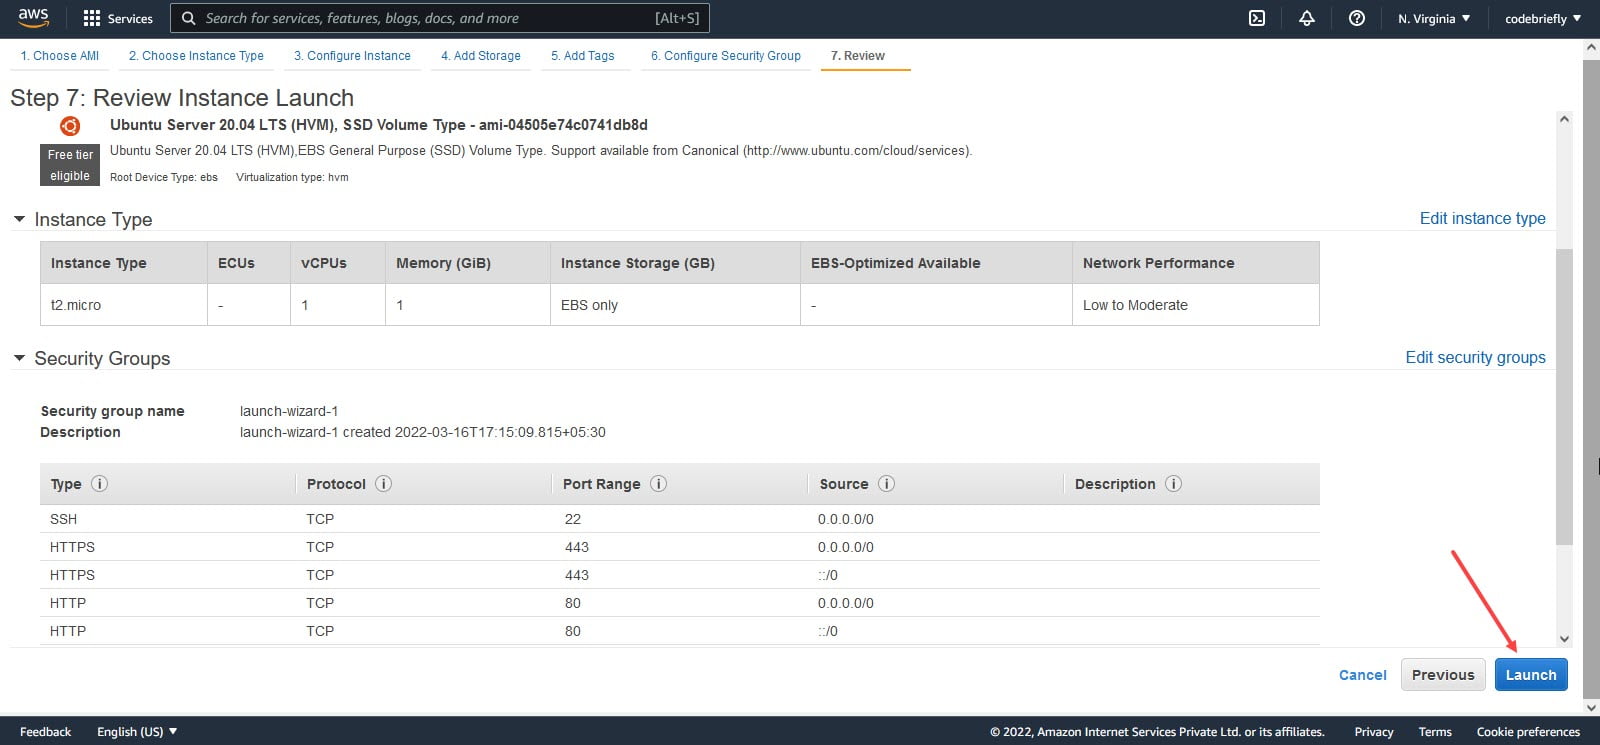
Review
Once, we are done with firewall rules, we can review the complete detail of our new instance on a single page, and here we can click the Launch button to launch the instance.
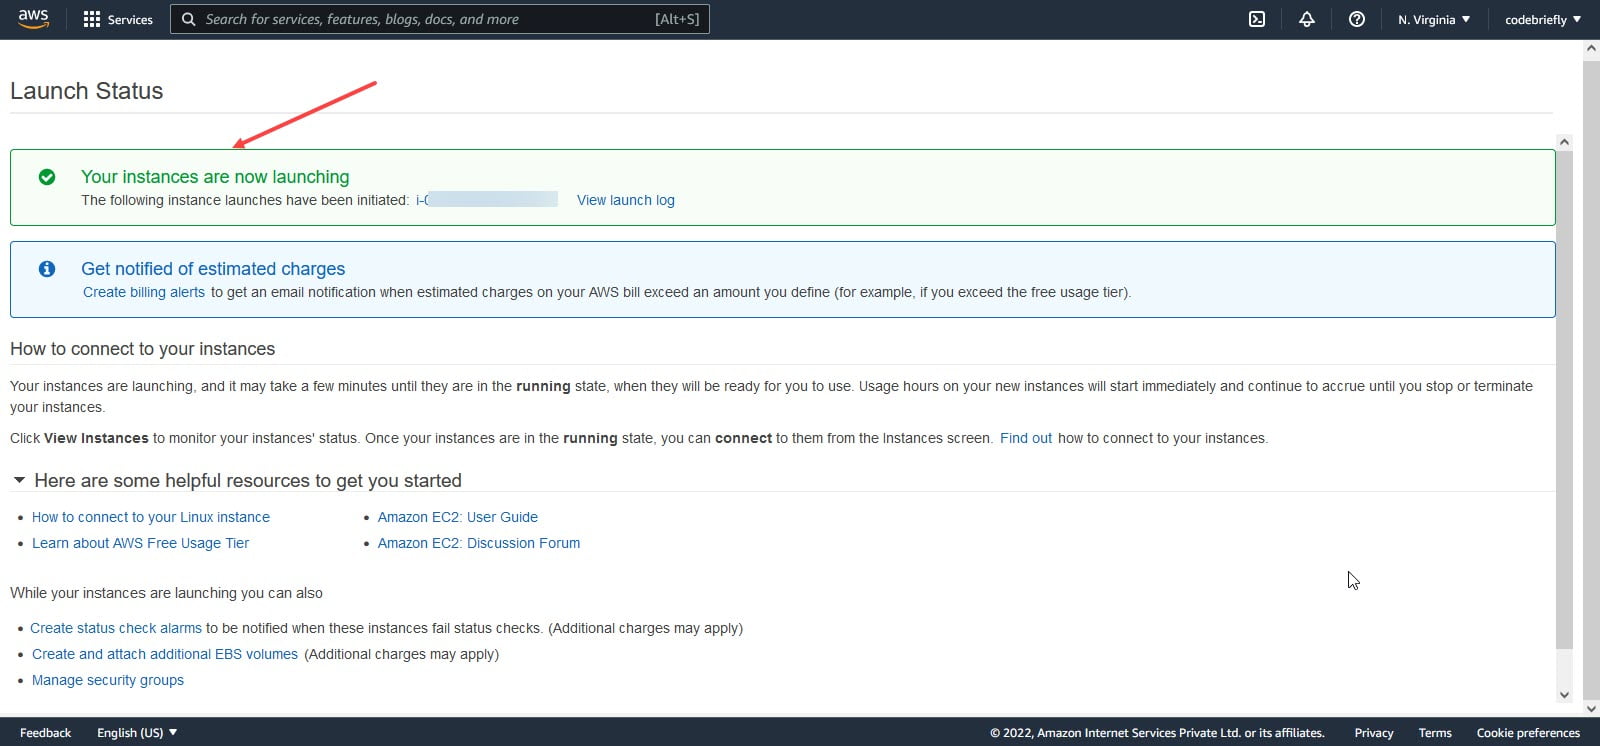
When we click Launch, it will open a pop-up that will require you to select a pre-existing public-private key pair or create one to connect to our instance securely. Once you select/download the key, you will be able to launch the instance.
I recommend choosing the new key pair for each instance, adding the key pair name, and download the file. This will provide us a "*.pem" file, which help us to connect with the instance using putty, FileZilla or etc.
After that click on the Launch Instances button. Once the AWS EC2 is created, you will be presented with this screen.
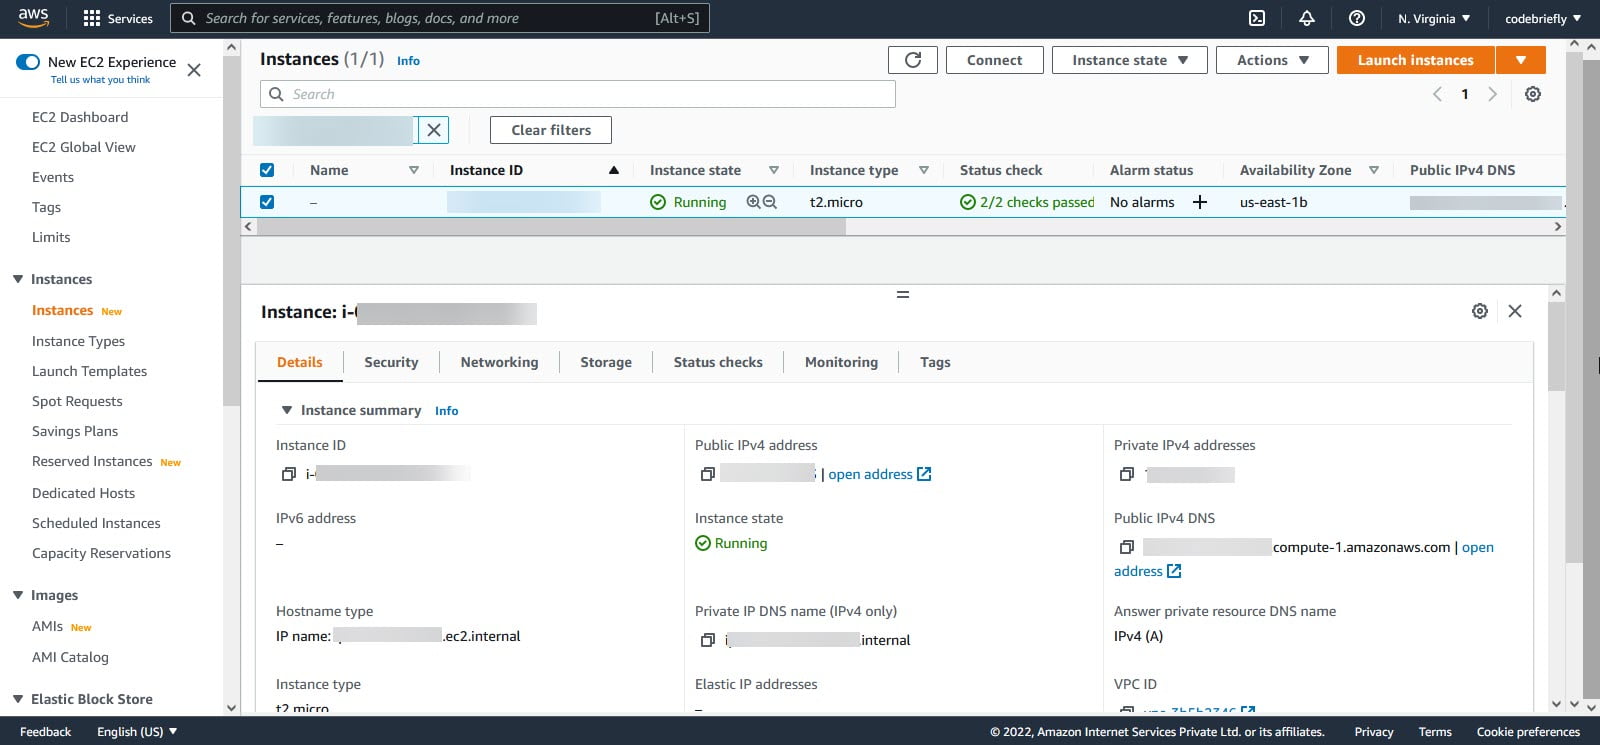
Go back to the EC2 Instances dashboard, our newly created instance is available.
What next? Login to AWS EC2 using SSH
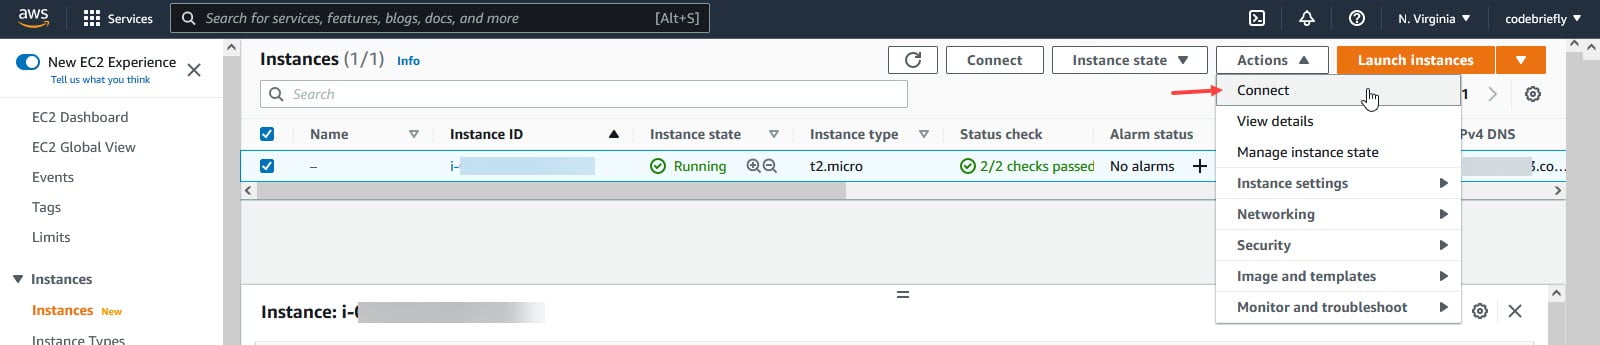
Select the instance and Click on Actions > Connect
After clicking on Connect as per the above screenshot, we will redirect to a Connect to instance page. Our default username is "ubuntu". Click on connect.
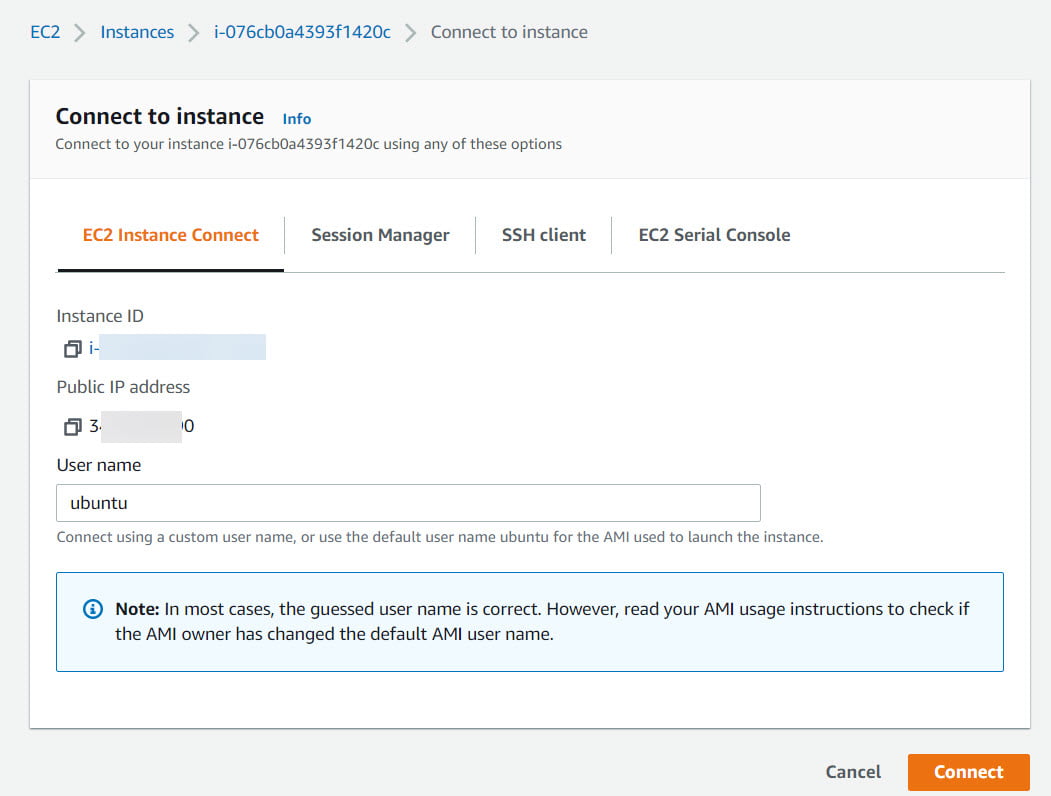
On the same screen, we got the other settings such as Session Manager, SSH Client, and EC2 Serial Console.
Let's click on the Connect button. You will be redirected to the new tab in the browser.
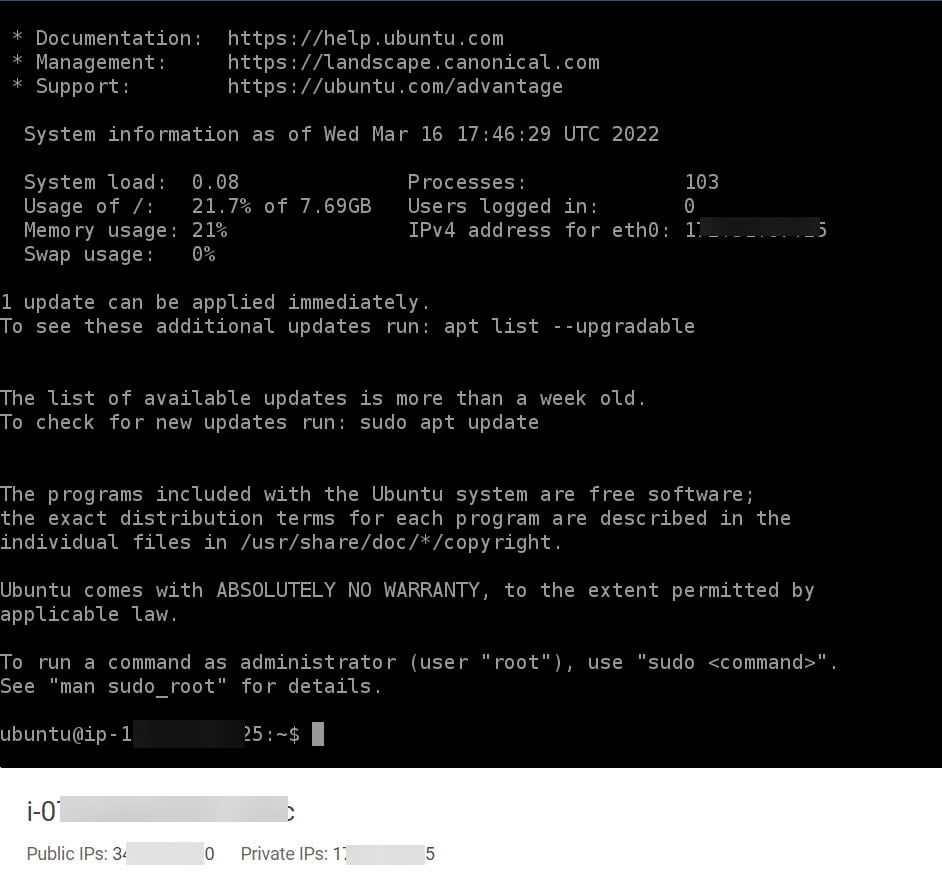
In the end, we successfully connected with the EC2 Instance.
Conclusion
In this article, we are discussing "How to Setup an EC2 Instance on AWS?". Hope you like this article, I tried to explain the EC2 Instance set up in a simple and easy way. Please feel free to add comments if any queries or also send me feedback.
Keep learning and stay safe ;)
You may like:
Basic Understanding on AWS Lambda
Manage AWS Lambda Versioning and Aliases
How to Upload File to AWS S3 Bucket Laravel
How to Send SMS with AWS SNS using Lambda & Python
Setup AWS Pinpoint (Part 1)
Comments
Post a Comment